b— title: “Got Santa on the Brain?” date: 2015-12-20 4:50:01 tags: art brain —
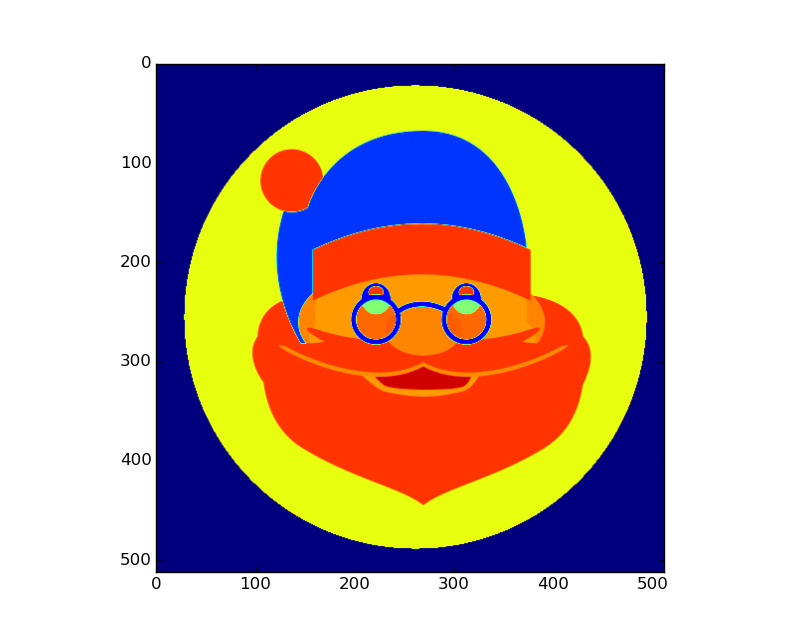
Got Santa on the Brain? We do at Poldracklab! Ladies and gentlemen, we start with a nice square Santa:

We convert his colors to integer values…

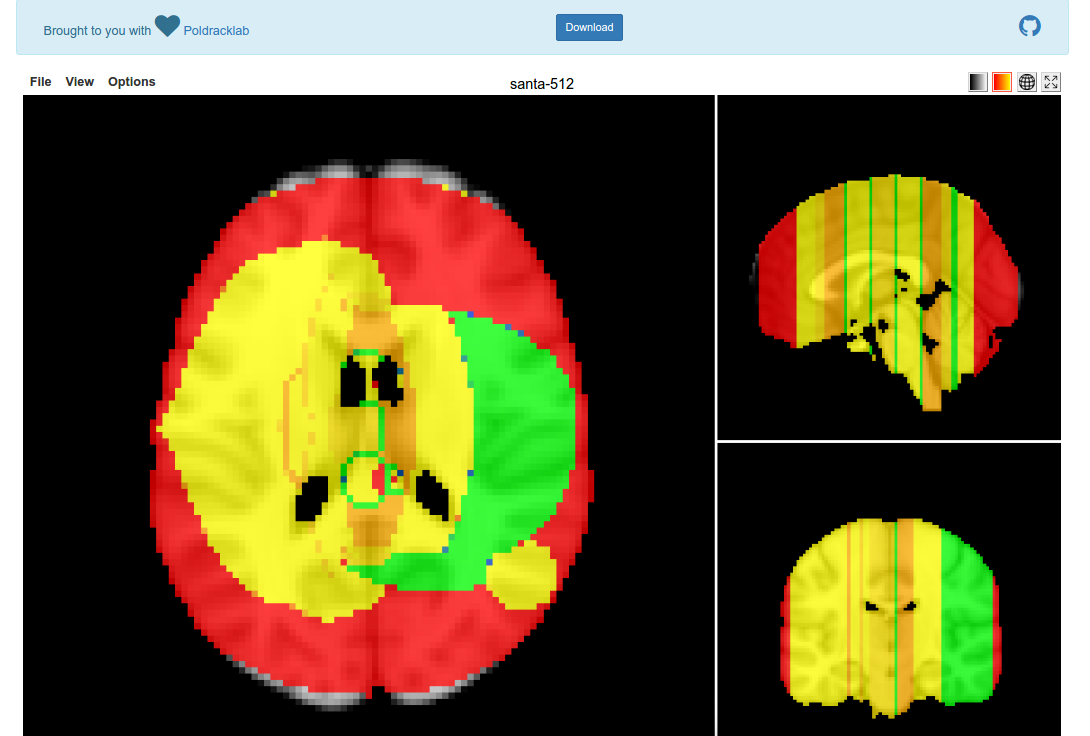
And after we do some substantial research on the christmas spirit network, we use our brain science skills and…

We’ve found the Christmas Spirit Network!
What useless nonsense is this?
I recently had fun generating photos from tiny pictures of brains, and today we are going to flip that on its head (artbrain!). My colleague had an idea to do something spirited for our NeuroVault database, and specifically, why not draw pictures onto brainmaps? I thought this idea was excellent. How about a tool that can do it? Let’s go!
Reading Images in Python
In my previous brainart I used the standard PIL library to read in a jpeg image, and didn’t take any attention to the reality that many images come with an additional fourth dimension, an “alpha” layer that determines image transparency. This is why we can have transparency in a png, and not in a jpg, at least per my limited understanding. With this in mind, I wanted to test in different ways for reading png, and minimally choosing to ignore the transparency. We can use the PyPNG to read in the png:
    import numpy
    import png
    import os
    import itertools

    pngReader=png.Reader(filename=png_image)
    row_count, column_count, pngdata, meta = pngReader.asDirect()
In the “meta” variable, this is a dictionary that holds different meta data about the image:
    meta
     {'alpha': True,
      'bitdepth': 8,
      'greyscale': False,
      'interlace': 0,
      'planes': 4,
      'size': (512, 512)}

    bitdepth=meta['bitdepth']
    plane_count=meta['planes']
Right off the bat this gives us a lot of power to filter or understand the image that the user chose to read in. I’m going to not be restrictive and let everything come in, because I’m more interested in the errors that might be triggered. It’s standard practice to freak out when we see an error, but debugging is one of my favorite things to do, because we can generally learn a lot from errors. We then want to use numpy to reshape the image into something that is intuitive to index, with (X,Y,RGBA)
    image_2d = numpy.vstack(itertools.imap(numpy.uint16, pngdata))
    # If "image_plane" == 4, this means an alpha layer, take 3 for RGB
    for row_index, one_boxed_row_flat_pixels in enumerate(pngdata):
        image_2d[row_index,:]=one_boxed_row_flat_pixels
    image_3d = numpy.reshape(image_2d,(row_count,column_count,plane_count))
The pngdata variable is an iterator, which is why we can enumerate over it. If you want to look at one piece in isolation when you are testing this, after generating the variable you can just do:
pngdata.next()
To spit it out to the console. Then when we want to reference each of the Red, Green, and Blue layers, we can do it like this:
    R = image_3d[:,:,0]
    G = image_3d[:,:,1]
    B = image_3d[:,:,2]
And the alpha layer (transparency) is here:
A = image_3d[:,:,4]
Finally, since we want to map this onto a brain image (that doesn’t support different color channels) I used a simple equation that I found on StackOverflow to convert to integer value:
    # Convert to integer value
    rgb = R;
    rgb = (rgb << 8) + G
    rgb = (rgb << 8) + B
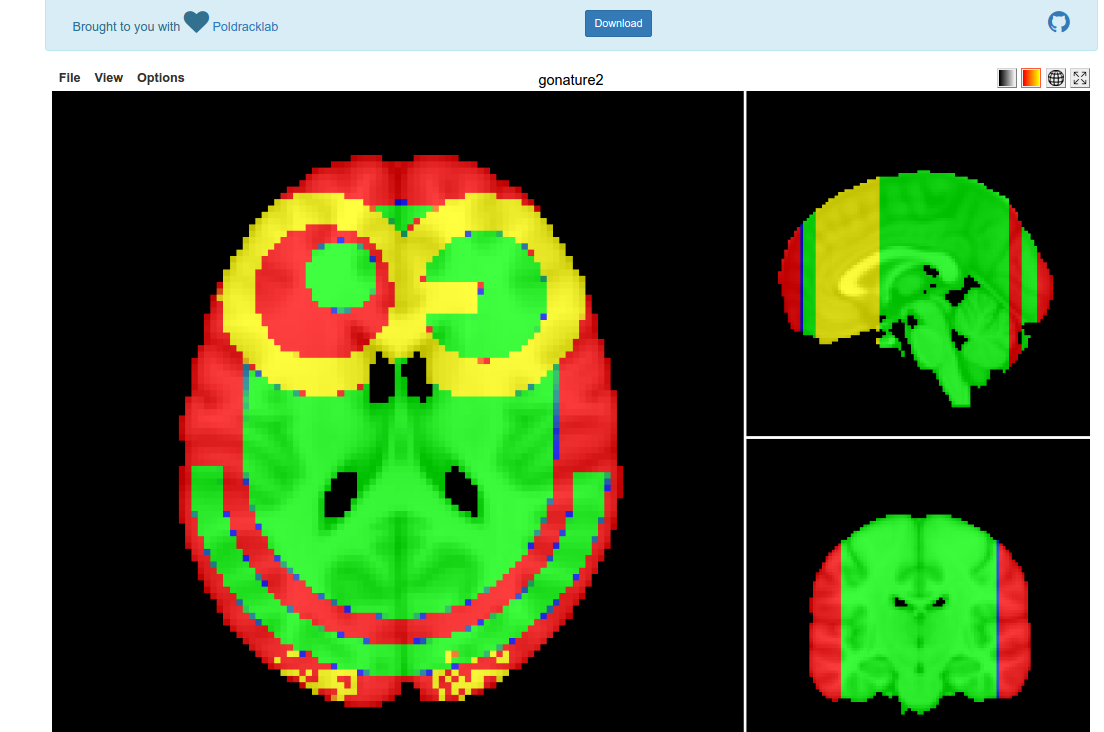
For the final brain map, I normalized to a Z score to give positive and negative values, because then using the Papaya Viewer the default will detect these positive and negative, and give you two choices of color map to play with. Check out an example here, or just follow instructions to make one yourself! I must admit I threw this together rather quickly, and only tested on two square png images, so be on the lookout for them bugs. Merry Christmas and Happy Holidays from the Poldracklab! We found Santa on the brain, methinks.

Suggested Citation:
Sochat, Vanessa. "Artbrain." @vsoch (blog), 21 Dec 2015, https://vsoch.github.io/2015/artbrain/ (accessed 03 Jan 26).