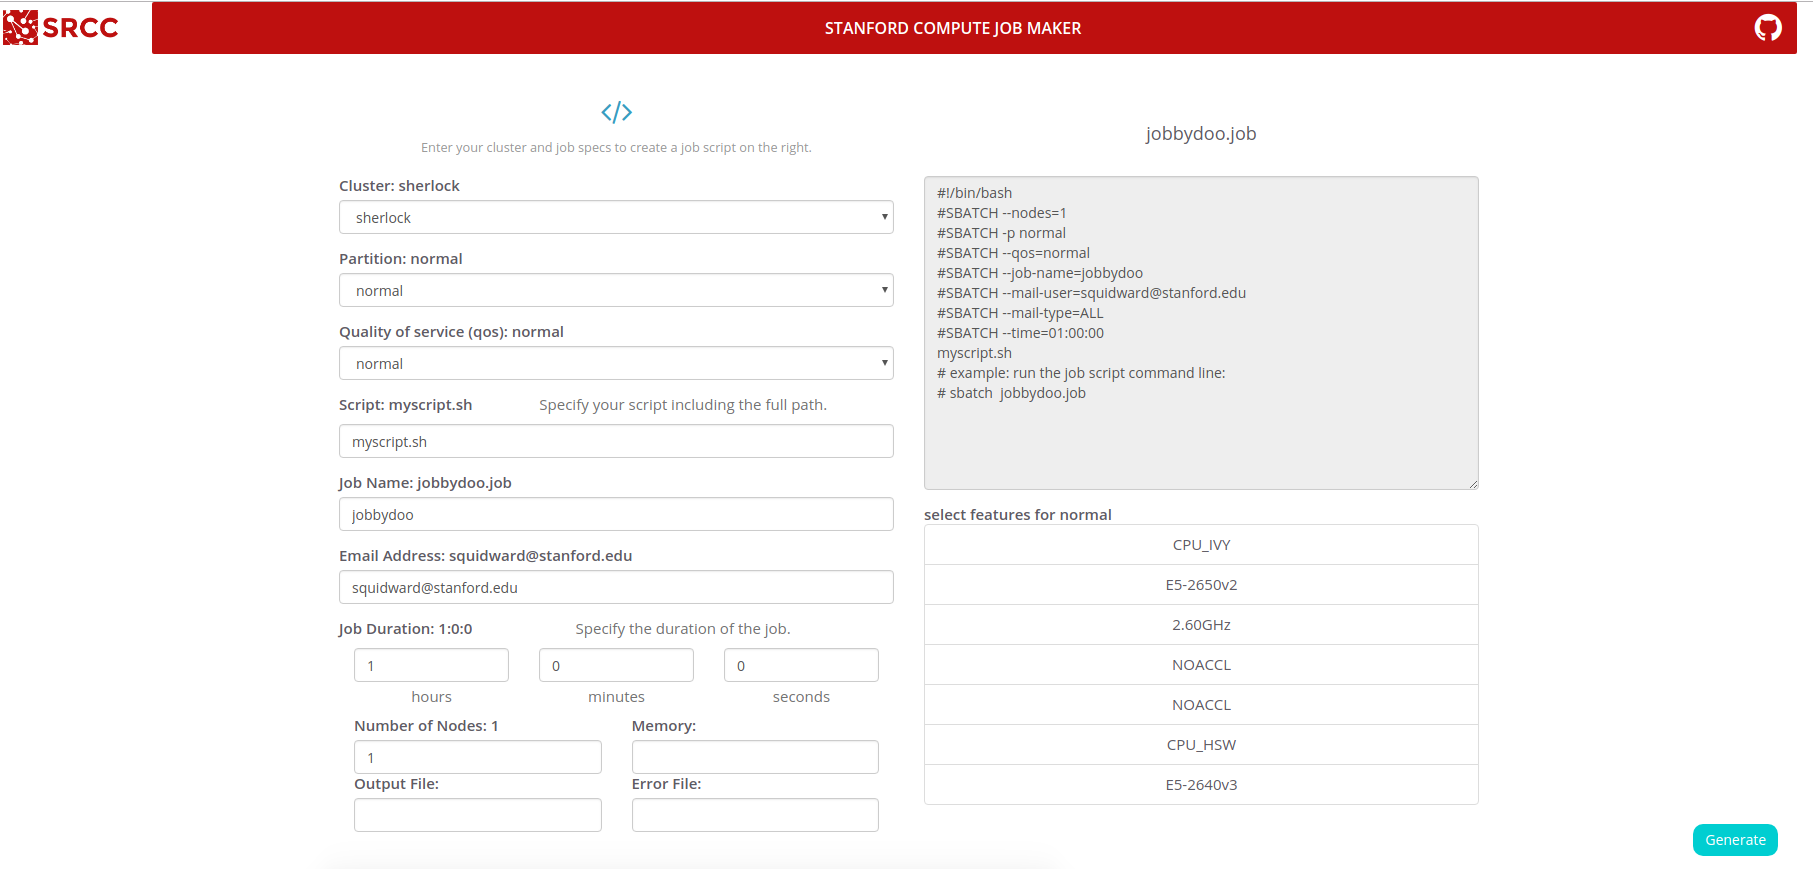
Long ago, in 2017 when I was a younger dinosaur, I created the
Job Maker.
The Job Maker serves a simple goal - to parse a high performance computing cluster
SLURM
configuration file (a file usually publicly available for nodes
to poke in /etc/slurm/slurm.conf) and generate a web interface to help
users generate Job submission files. A
live demo
is deployed by the repository. Today I’ve added some container magic to make it
even easier to generate this interface for your institution or cluster!
Generate your Job-Maker
1. Get the slurm.conf
The key ingredient to generate the interface is the configuration file for SLURM.
You can usually find it on your cluster at /etc/slurm/slurm.conf, or ask your
local HPC admin to locate it for you. While a lot of slurm is not accessible to
the average user, the configuration file has to be public so that it can
be used by all the nodes. You likely want to copy this to your local machine.
Let’s go ahead and make a temporary directory to work with to do this, and we
will use scp to copy it to our local computer. You can also use whatever file
transfer protocol is your preference.
mkdir -p /tmp/jobmaker
cd /tmp/jobmaker
scp <username>@<cluster>:/etc/slurm/slurm.conf slurm.conf
This should copy slurm.conf into the present working directory, which is /tmp/jobmaker.
2. Generate the static files
While previously you needed to download the repository and use python on your host, you now can use a Docker container that is available on Docker Hub.
When we run the container, we will bind our present working directory with the
slurm.conf to /data in the container. We will also
provide the path to slurm.conf (from within the container):
# present working directory is /tmp/jobmaker including the slurm.conf
docker run --volume $PWD/:/data vanessa/job-maker --input /data/slurm.conf
Parsing /data/slurm.conf, please wait!
All partitions will be included.
Adding cluster sherlock
Compiling clusters sherlock
Successful generation! Writing output to /data...
/data
├── LICENSE
├── README.md
├── assets
├── data
├── index.html
└── slurm.conf

2 directories, 4 files
You should then be able to copy those static files to your web server, and deploy the job maker. You can also test locally with python:
cd /tmp/jobmaker
python -m http.server 9999
# open up http://localhost:9999
If you want to change the logo, just replace the file at assets/img/logo.png.
You can also tweak the colors and styling of the page in assets/css/style.css.
For example, to change the color (red) of the navigation bar, change the
background-color here:
nav {
    display: inline-block;
    margin-left: 50px auto;
    background-color: #be100f;
    border-radius: 2px;
    width: 90%;
}
You can also choose to exclude partitions, or even provide multiple cluster slurm.conf files to parse! For example:
docker run --volume $PWD/:/data vanessa/job-maker --input /data/slurm.conf,/data/slurm-corn.conf
See the repository README for details. Have fun!
Suggested Citation:
Sochat, Vanessa. "The Job Maker Container." @vsoch (blog), 07 Jan 2019, https://vsoch.github.io/2019/job-maker/ (accessed 03 Jan 26).
