I might possibly be disowned for this, but I’ve wanted to give a shot at making a small bot that would generate surprising, random text. The willing participant was one of my family members that has a lot of interesting political and art-related commentary on social media. I started with the Trump bot, which is uses a word level RNN (recurrent neural network) trained on a large corpus (either Trump speeches or my social media posts). You can read more about the original project here. I wanted to:
- Reproduce the training and sampling to write up for others
- Containerize the final model
- Produce a small bot that would run via a GitHub action
- And of course, have a little fun!
This has led to the natacha-bot, which I’ll review steps for in the rest of this post.
Background
I recommend reading the background section of this post to understand the training. In a nutshell, we are using Long Short Term Memory (LSTM) recurrent neural networks to generate the text. LSTMs can take a short input snippet and then predict the next item in the sequence, and if you keep doing this, you can get a sentence to a few paragraphs. The author of Trump Bot trained two of these models, one on the level of characters (e.g., predict the next character) and one on the level of words (predict the next word). The author was clever to combine the two to produce (not scientifically proven, but subjectively stated to be) an overall better outcome. In his own words:
While these characteristics make the word-level model a good candidate for generating meaningful paragraphs, I found the character-level model to be better at completing individual sentences. As a result, Trump Bot blends the two models: it uses the character-level model to complete the first sentence based on the initial seed, and uses the resulting sentence as the seed for the word-level model, which then generates the remainder of the speech.
And largely, a lot of this combinatory logic is represented in the sample.py script that generates text. I didn’t do justice to test out different ways of doing it because it was a weekend project, but I invite you, dear reader, to run with it! Now that we have a high level understanding of the training and models, let’s talk about what interests me most - the steps to make it happen.
Data Cleaning
The repository was documented to some extent, but it wasn’t entire clear how to properly create the input data and then perform the training. Like any good lemming, I used the structure of the data in “data/trump” as an example for my own data. Here is what it looks like for trump:
data/trump/
├── input_normalized
│   ├── clean_input.py
│   └── input.txt
├── input_norm_caps
│   ├── clean_input.py
│   └── input.txt
├── input.txt
└── speeches
    ├── 20160622-election-stakes.txt
    ├── 20160808-detroit-economics.txt
    ├── 20160809-second-amendment.txt
    ├── 20160820-lincoln.txt
    ├── 20160831-charlotte.txt
    ├── 20160831-immigration_phoenix.txt
    ├── 20160906-emails.txt
    ├── 20160907-security-philadelphia.txt
    ├── 20160909-florida.txt
    ├── 20160915-jobs.txt
    ├── 20161013-accusation-response.txt
    ├── 20161014-accusers.txt
    ├── 20161020-Al_Smith_dinner.txt
    ├── debate_1.txt
    ├── debate_2.txt
    ├── debate_3.txt
    ├── speech0.txt
    ├── speech1.txt
    ├── speech2.txt
    ├── speech3.txt
    ├── speech4.txt
    ├── speech5.txt
    ├── speech6.txt
    ├── speech7.txt
    ├── speech8.txt
    └── speech9.txt

3 directories, 31 files
And I mimicked this structure by way of having a data export that I cleaned and parsed into an input.txt file.
$ tree data/natacha/
data/natacha/
├── data.t7
├── data_w2.t7
├── export
│   ├── comments.html
│   ├── posts1.html
│   └── posts2.html
├── generate_input.py
├── glove_10353x200.t7
├── input.txt
├── train_char.sh
├── train_script.sh
├── train_word.sh
├── vocab.t7
└── vocab_w2.t7
My raw data is represented in the “export” folder (not shared publicly) and the cleaned data is exported to input.txt. The script “generate_input.py” handles parsing the files in export, and cleaning them up. Note that even after I cleaned them up programmatically, I still went through to remove family last names, locations, and anything that I missed. My text editor uses regular expressions, so it wasn’t too much extra work, however it’s not represented in the python script. If you clean your own data, your process will undoubtably be different from mine.
Training
I noticed that the files “train_word.sh” “train_char.sh” and “train_script.sh” in the root of the repository all used the lua scripts to perform training, usually on one of the Trump input files. If you look at the filesystem listing above, you’ll see that I reproduced these files in the data/natacha folder, and then copied them to where they would be used for the Docker build. That looks like this:
FROM rtlee/t-bot:train
COPY data/natacha/input.txt /root/Trump-bot/data/natacha/input.txt
COPY data/natacha/train_char.sh /root/Trump-bot/train_char.sh
COPY data/natacha/train_word.sh /root/Trump-bot/train_word.sh
COPY data/natacha/train_script.sh /root/Trump-bot/train_script.sh
COPY ./build.sh /root/Trump-bot/build.sh
COPY ./sample.py /root/Trump-bot/sample.py
RUN /bin/bash /root/Trump-bot/build.sh
RUN cp $(find cv_char -name "lm_lstm_epoch30.00_1*.t7") cv/char-rnn-trained.t7 && \
    cp $(find cv_word -name "lm_lstm_epoch50*.t7") cv/word-rnn-trained.t7
ENTRYPOINT ["python", "/root/Trump-bot/sample.py"]
Yes, the top sections could be cleaned up so we aren’t creating so many layers to copy single files. Also notice that:
- We copy the updated training scripts (that reference the natacha data) to the root.
- The script build.sh runs those scripts.
- We discover the final model file based on a find command (the suffix changes, but not the prefix)
The above container I would build and run as follows:
$ docker build -t vanessa/natacha-bot .
$ docker run -it vanessa/natacha-bot "I want to"
I want to be the post and control of the power syndicates that is the profit and start it to the many
problem that we are so that is the since we are being a senile to see it as they want to be the
place of the public and the money will be a start of us in the political things that is a bober
profits who was. That is just my personal page when I made it a part of a look at a business
map I made to make a private insurance at all. I am going to do it as a reference to my
website. Not the brain as you are not
Interactive Building
If you give this a shot, I recommend using a container recipe, but running each of the build.sh commands separately to first build different layers. The reason is because if you want to change something, or if there is an error, you can start with the container layer that failed. For example, if you list images and add “-a” you’ll see the layer ids that are from failed builds:
$ docker images -a
REPOSITORY               TAG              IMAGE ID            CREATED             SIZE
<none>                   <none>           7aeb5415ab17        16 hours ago        1.94GB
You can then run an interactive session into that container where you left off, and you don’t need to run potentially hours or a day of training again.
$ docker run -it 7aeb5415ab17 bash
You can then work interactively in the image, and when you want to save it, find it again based on the image identifier:
$ docker ps
CONTAINER ID     IMAGE          COMMAND      CREATED        STATUS        NAMES
3b70685c51ff     7aeb5415ab17   "bash"       4 seconds ago  Up 3 seconds  clever_kepler
...
And then (on your host) you can commit the running container.
$ docker commit 3b70685c51ff vanessa/natacha-bot
This saved me a lot of time, because I had an error with a copy of the models into the cv folder, and instead of needing to re-run everything, I just shelled into the layer that had the finished models, copied the correct files, and commit the container.
Sampling
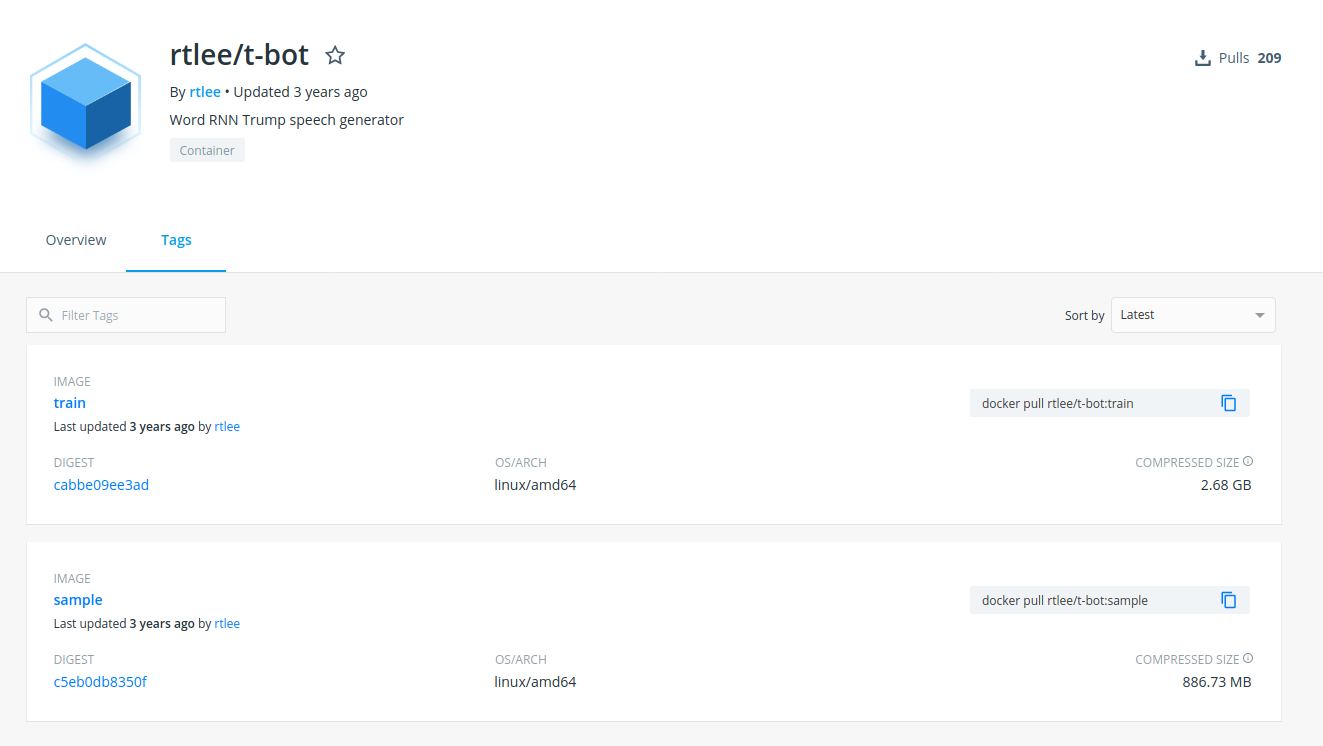
When I had finished the above container (note we are using the “train” tag) I completely forgot about the sample base, and built a GitHub workflow to run the container, generate wisdom, and open a pull request to add it to render at a static interface on GitHub pages (in the docs folder. What happened on on early run? Well, it failed of course! I didn’t save this run, but essentially the massive container (15GB!) ate up all the space available on the filesystem, and the action failed. This is how I quickly realized that the “sample” tag was intentionally created to move the final model into, and provide a much smaller base to deploy. Here you can see both tags on Docker Hub:
So I added a Dockerfile.bot to perform a multistage build and copy only those needed files from the previously built container:
FROM vanessa/natacha-bot:latest as builder
FROM rtlee/t-bot:sample
COPY --from=builder /root/Trump-bot/cv/char-rnn-trained.t7 /root/Trump-bot/cv/char-rnn-trained.t7
COPY --from=builder /root/Trump-bot/cv/word-rnn-trained.t7 /root/Trump-bot/cv/word-rnn-trained.t7
COPY sample.py /root/Trump-bot/sample.py
ENTRYPOINT ["python", "/root/Trump-bot/sample.py"]
And then I built as follows. Yes, I intentionally named the container something else in case it was messed up - I didn’t want to overwrite the image identifier “vanessa/natacha-bot:latest”
$ docker build -f Dockerfile.bot -t natacha-bot .
And then once I was happy, I could rename it.
$ docker tag natacha-bot vanessa/natacha-bot
Because the final image is a much more reasonable size!
$ docker images | grep natacha
vanessa/natacha-bot       latest    69e11cd4c610    16 hours ago        1.94GB
The difference in size is likely because the “train” tag contains the pre-trained GloVe word embeddings that are needed for training, along with all the library dependencies for it. I didn’t poke around the container further to investigate more, but this is what I’d suspect.
Automate
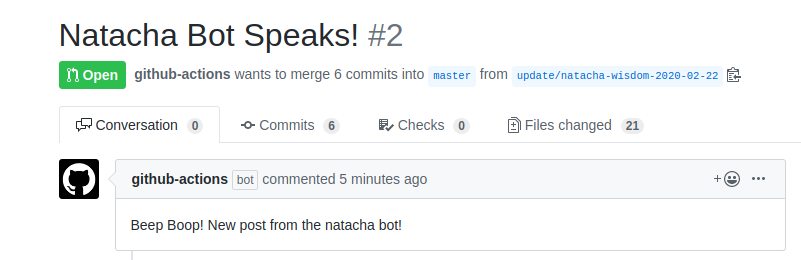
And of course the GitHub Action is running, nightly, to generate and open a pull request to add a new snippet of wisdom!
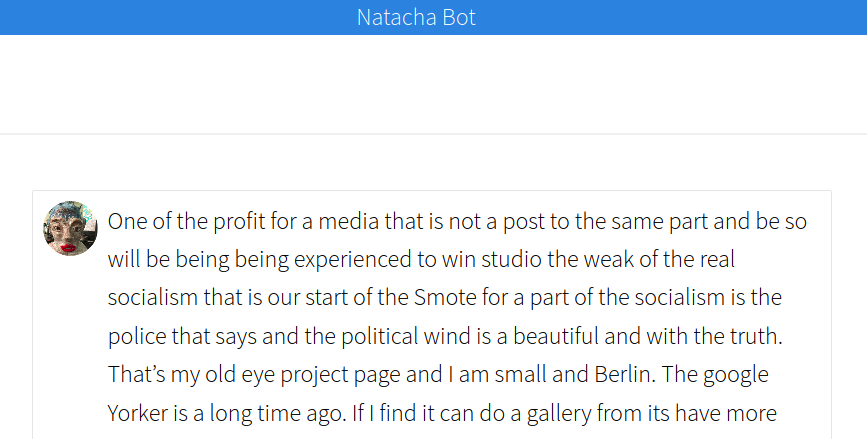
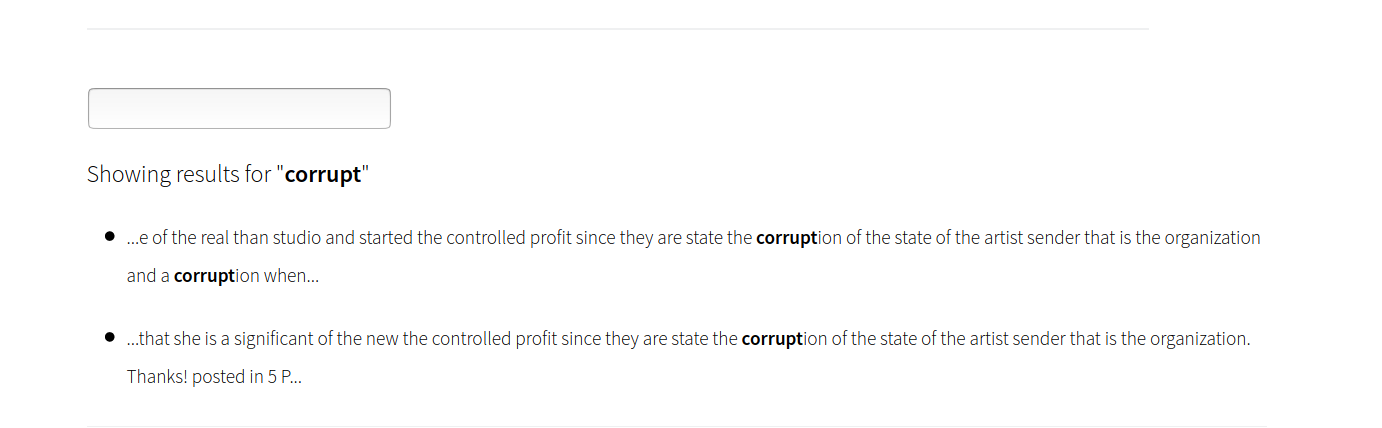
And you can see the tiny interacted here, which I designed to look like a simple feed of posts. If you search for a term (upper right search icon), you can also see where and how it shows up:
And once I was done and cleaned up, wow, that was a lot of space!
$ docker system prune --all
...
deleted: sha256:52370fd7ffaf83647ab073bcb7e3b790b364980b4ca9454d4e72719d7732d793
deleted: sha256:9e63c5bce4585dd7038d830a1f1f4e44cb1a1515b00e620ac718e934b484c938

Total reclaimed space: 21.11GB
I can’t say that it’s very good, or that I’ll run it forever, but I had a lot of fun figuring out how to reproduce the Trump Bot, and weirdly capture the essence of this particular family member for all of time in an algorithm! The input data was a lot less comprehensive than the Trump speeches, so I think there is great room for improvement, but I’m happy with this as a first shot. Love you, natacha bot! <3
Suggested Citation:
Sochat, Vanessa. "The Natacha Bot." @vsoch (blog), 24 Feb 2020, https://vsoch.github.io/2020/natachabot/ (accessed 14 Jul 26).