An important part of being a researcher is visualization. It’s hard to present meaningful work if you don’t have good methods to display your data, and although most of us are pretty decent with plotting in Matlab and R, I would still say that it’s an undervalued skillset. There is also a pretty solid barrier between our research environments (eg., R or Matlab), and the places that people go to learn (eg, the internet), although recent services like Plot.ly are bringing down that wall.
If we think for a minute about the broad range of expertise that would be required to be both awesome at research and all web visualization technologies, it’s quite a bit. There are people with entire careers devoted to making web pages, dynamic web content, or animation, so how is the researcher to fit in this expertise on top of normal work, paper writing, and teaching? I think I’ve probably laid out the problem well enough. While we can’t be the best at all these technologies, I think that it’s important to minimally stay on top of the field, and do enough little projects over time so that when push comes to shove, you can build what you need. This is the rationle for my little bit of fun today! It might be a little over-analytical for what comes down to just another thing I wanted to try (and waited for Christmas break to do so). My end goal is to build an in browser racing game using WebGL, which is a JavaScript API that can talk to your graphics card from the browser, and render beautiful content. I don’t have a research use-case in mind yet, but I can imagine it would be super awesome to have a data or brain rendering in some future online toolkit that I might develop. Since I haven’t a clue what I’m doing, I thought that I’d start very simple - let’s create a floating 3D object in the browser. Then we can figure out how to get it under the user control, and animating some road and background. That’s a racing game, right?
Step 1: Prepare a Vector Graphic
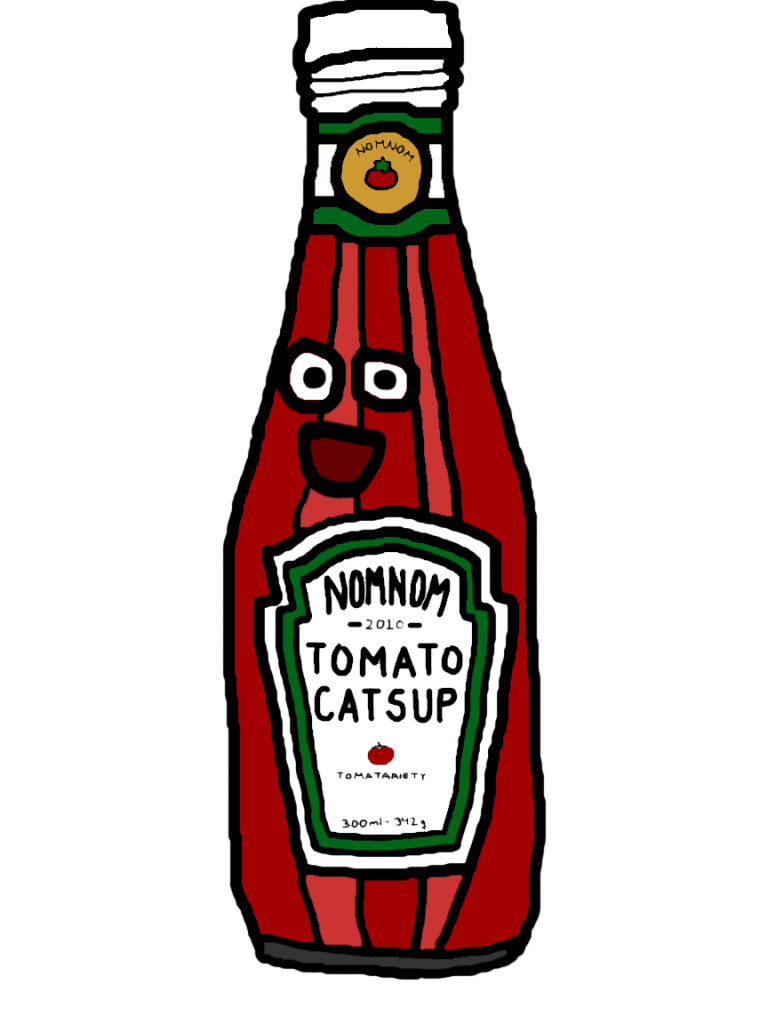
Back from my days of doing models in Maya, I remember this website TurboSquid where you can download lots of free models. That isn’t so helpful though, because I would want models of my own images and data. So for this learning tutorial, it’s important to make our own models from scratch. First, let’s choose an image and turn it into a vector graphic using Inkscape on linux. For this purpose, I am calling on my Mr. Catsup:
Now, download Inkscape, which is the Linux (free!) version of Adobe Illustrator. Adobe has recently done away with all single licenses, and users are required to pay ridiculous monthly fees for its “Creative Cloud.” It’s amazing what companies will do to make money, and ironically it means that they are likely going to lose a huge customer base. Here is how to turn the graphic into a vector graphic:
- Open up your image.
- Select the image, and go to Path –> Trace Bitmap
- In the Trace Bitmap window, check “remove background”
- Click Update to see the result, and tweak the settings and thresholds until you like it.
- Click OK, and now we have a vector graphic! Be sure to delete the original graphic (in the layer underneath), and save as an .svg file.
Here is our vectorized Mr. Catsup:

Step 2: Create a 3D Model
If we somehow got a 2D image floating in a browser, that would just be OK. I’d really like to extrude him a bit, and give him some depth! With a little searching, I stumbled on something amazing - there is an open source (free!) modeling software (akin to Maya) for linux, called Blender! This is so exciting! First, download blender, extract it to a folder on your machine, and get it started by running ./blender. The learning curve on this one is a little steep, only because there are so many buttons, and if you don’t have a mouse like me, you are forced to try zooming, panning, and moving around the model space with the key and mousepad alone.
Once in blender, go to File –> Import, and select your svg. Note that the new workspace opens with a cube, and you should delete it, and you’ll likely need to zoom in to see your tiny svg. This is what my imported graphic looked like at first - I didn’t see anything!

To zoom in, click shift+B and then click and drag to select the origin area (where your imported graphic is):

It will then look something like this:

We would do much better looking at it from the top down. Click on the View menu in the bottom left, and select “Top”

Also note that three buttons to the right of this, there is a dropdown menu, and we are currently in “Object Mode.” Object mode seems to be where you can grab entire pieces and move them around, versus “Edit mode,” which allows you to select individual vertices, edges, meshes, etc.

There he is! Now, let’s make him bigger. First, let’s snap the origin (the thing with arrows coming out of it) to our geometry, so when we transform it uses his center as the vanishing point. Click on “origin” in the menu to the left, and then “Origin to geometry.” Then press a to select him (a is the general select/unselect all button), and the selection is indicated by orange lines around the entire model. Then, click on “scale” in the “Object Tools” menu on the left. When I did this, he turned white, and moving my cursor made him dynamically get bigger and smaller, but it wouldn’t allow for making him as large as I liked. Instead of moving your cursor around, just left click (so he’s orange again), and then notice the “Resize” panel with “X,Y,Z” boxes in the panel to the left? I put in 10 for each of these, and he was nicely sized:

Now we need to zoom out, and if you don’t have a mouse, this is possible with holding the middle keypad button, and then moving up and down. We now need to extrude him. Change from “Object Mode” to “Edit mode,” and then press B, click and drag around his entirety. This will select all of his vertices! And you should note if you press A you can select and deselect, and had you selected a smaller region, you would only select that subset of vertices. Once he is selected, look at the menu on the right, and find the tab that has two points connected by a line. This is the “Curves” panel. Find the “Geometry” section, and then enter a value between 0 and .2 under extrude:

We are almost done! We now need to convert him to a mesh. If we were to export him as is, it would be an empty json file (I know because I learned the hard way!). We also can’t do anything with textures if he doesn’t have skin. To convert to mesh, first go into object mode, and hit Alt+C, and select to convert to mesh:

For now, we won’t give him a texture, because I haven’t yet figured out the UV mapping, and I think we can color him with webGL.
Step 3: Export your Model
We need to enable an extra module in Blender to export to three.js, which is basically a JavaScript WebGL library for dummies.
- Download three.js somewhere on your computer. Find the folder
utils/exporters/blender/2.65/scripts/addons/io_mesh_threejsand move the entire folder into the directory/blender*/2.69/scripts/addons - Then in Blender go to
File --> User Preferences, search for “three” (you may need to click the refresh button in the bottom right), and then click the check box to the right of the plugin to enable it. Close user preferences.</span> - Then to export, in blender go to
File --> Export --> Three.js (.js)Done! Now we have our model! Open the file in a text editor to make sure that it isn’t an empty object. If it is, make sure that you converted to a mesh, and possibly try selecting the entire thing before exporting. I didn’t need to restart my blender, but if you are having trouble, a restart is a good idea.
Step 4: Use three.js to Animate the Model
First, create a directory for your site, copy your ketchup.js (the exported model) into a “models” folder, and create another directory called “js.” In the JS folder, copy the following files from three.js into your js folder:
threejs/examples/js/controls/OrbitControls.js
threejs/build/three.min.js
The secret to learning anything that you haven’t a clue about is starting a template, and then tweaking. For this aim, I found a nice example from the guys at Treehouse, and I didn’t do very much in the way of editing, because I was too eager to get it in the browser. As long as your directory structure is ok for the js and models folder, and you change the name of the model, it should be good to go! Also keep in mind that WebGL doesn’t work in all browsers - on my linux it didn’t work in Chrome, but it worked in firefox. To see the code, just go to either of my final pages below, right click –> View Source.
Here is the finished Mr. Catsup!
And I also made another one called “brain map” that is rather puntastic. If my brain were a globe with water and continents, it would look something like this.
What Next?
When I want to learn something, it’s good to start with basic goals, and then slowly add complexity. A good “next” step would be to figure out texture mapping, and use three.js to do simple user controlled movements. Then, toward my car racing goal, I’d want to animate a background and road. That will be for a later time, however, because I want to work a little bit on something else now :)
Suggested Citation:
Sochat, Vanessa. "3D Web Models with Three.js and Blender." @vsoch (blog), 22 Dec 2013, https://vsoch.github.io/2013/3d-web-models-with-three-js-and-blender/ (accessed 14 Jul 26).