Interface
- Dashboard for user and staff navigation
- Orders to sign an MTA and request distributions
- Factory views for the lab staff to design genes
- Shipments for the label to receive and process orders
- Search and catalog views
- Maps for finding plates.
- Profile include account management and API tokens.
- Admin views
- API views
FreeGenes has general functionality for non authenticated users to search, and detail is provided after a user has created an account.
Dashboard
The primary dashboard for FreeGenes shows overall statistics at the top:
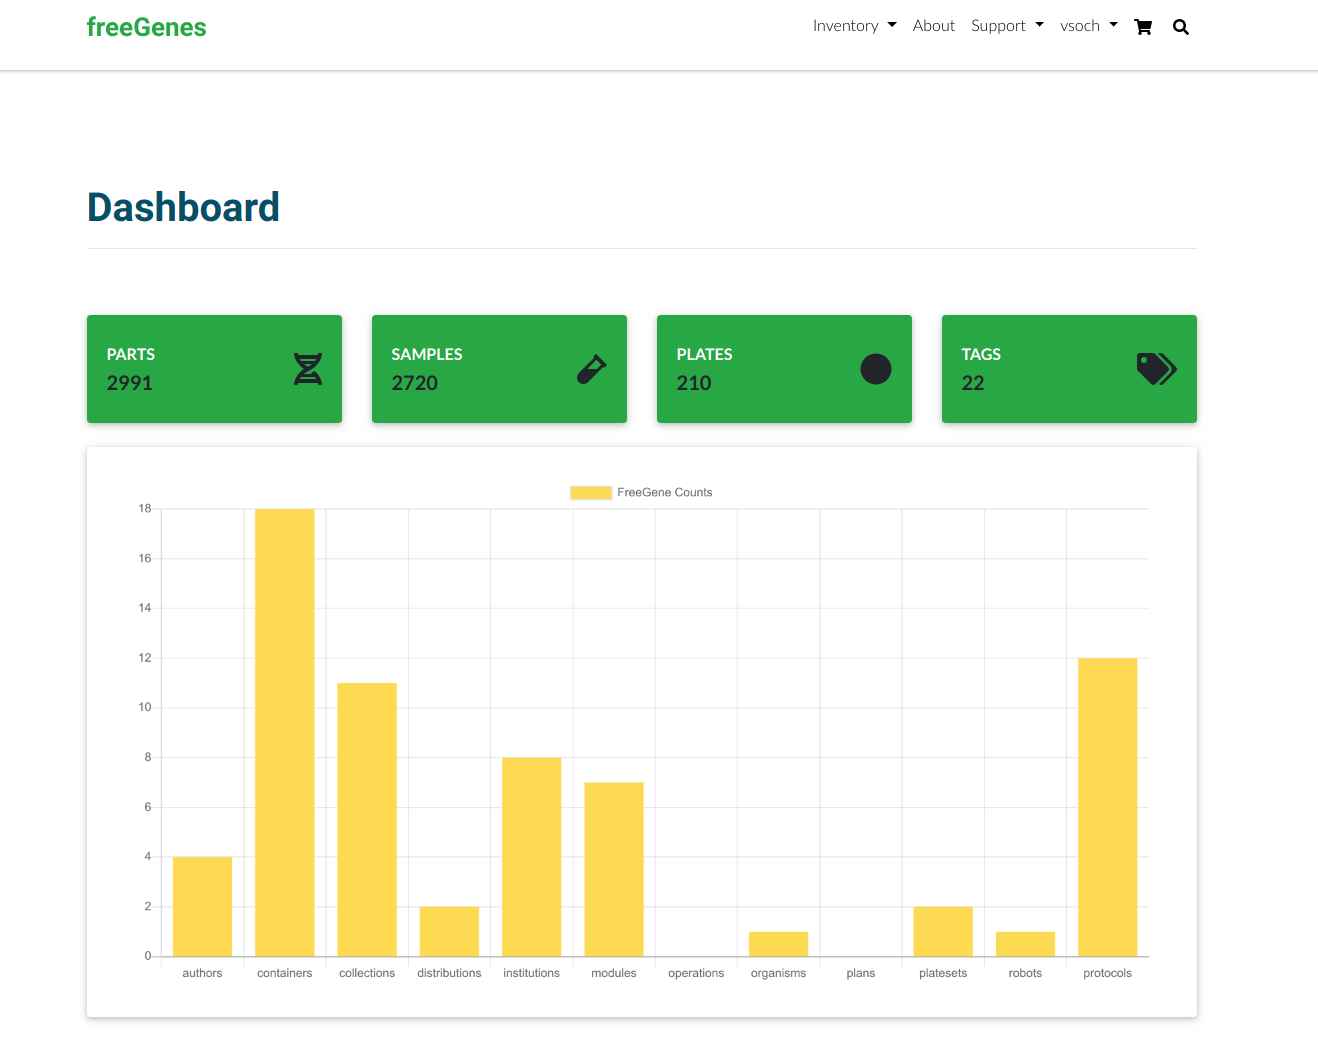
Question: should the orders / dashboard be moved into a tabbed interface? Should the chart be moved into a 50% column, and then the four statistic boxes stacked on the right?
Larger values are shown in boxes, others are shown in a standard box plot. Directly below, an admin or staff user sees a table of all orders:

And a logged in user that isn’t admin or staff only sees his or her current and previous orders.
Orders
When a user adds one or more distributions to his or her cart, they appear on the “Cart” page that is available by clicking the shopping cart in the top right:
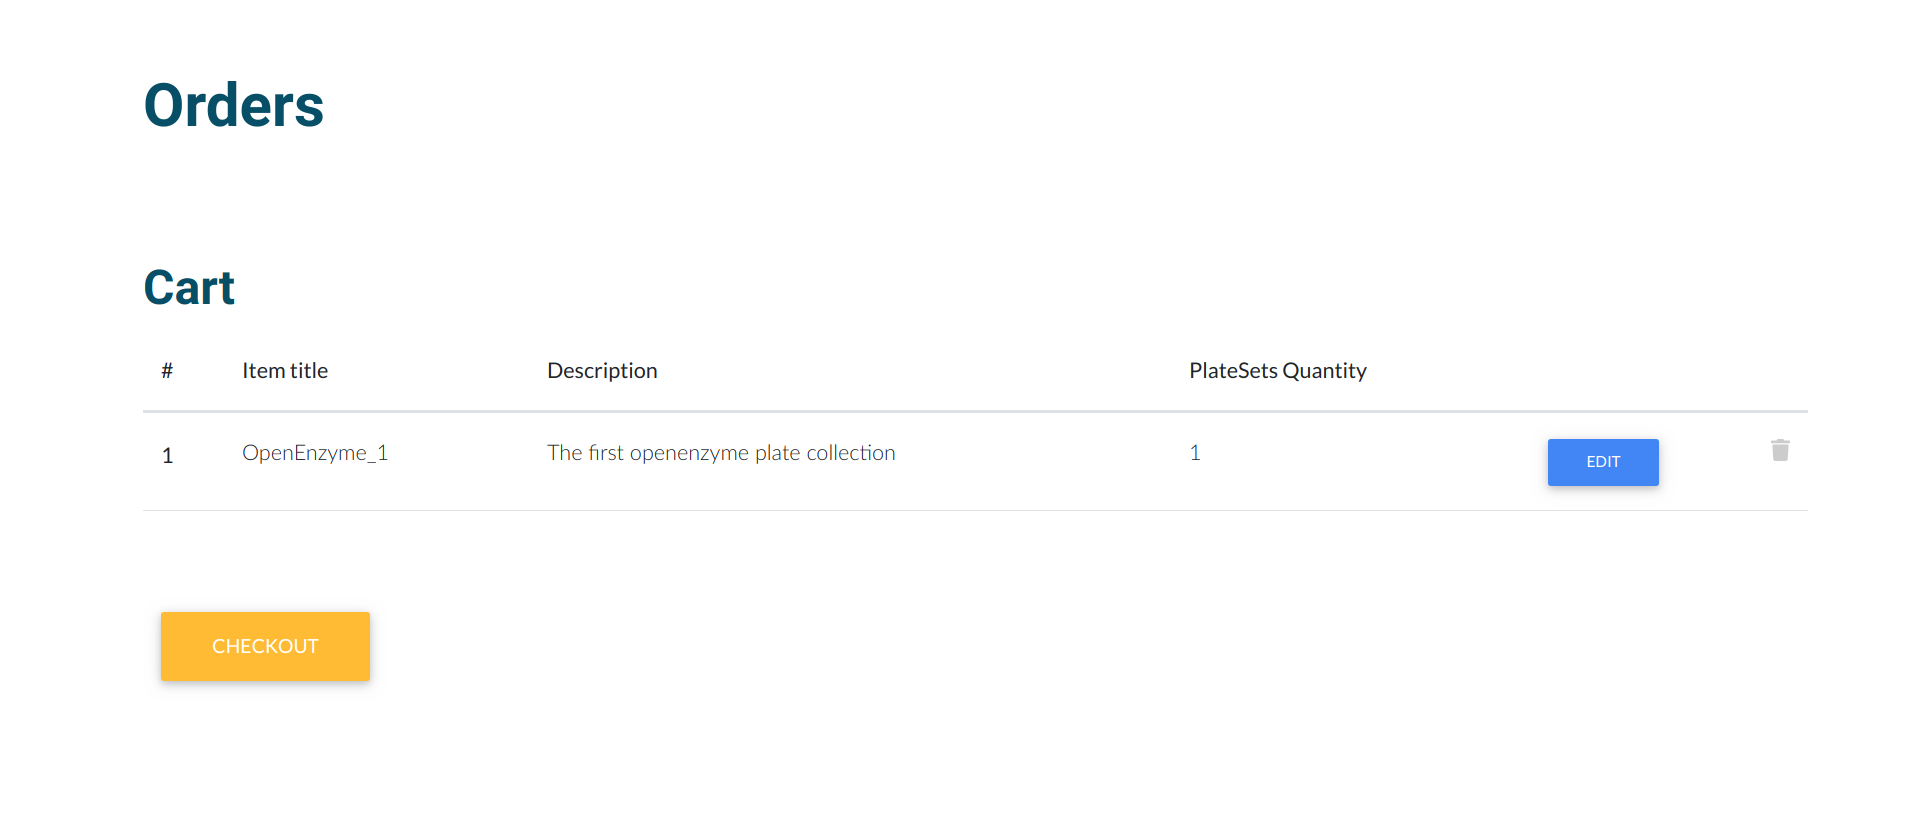
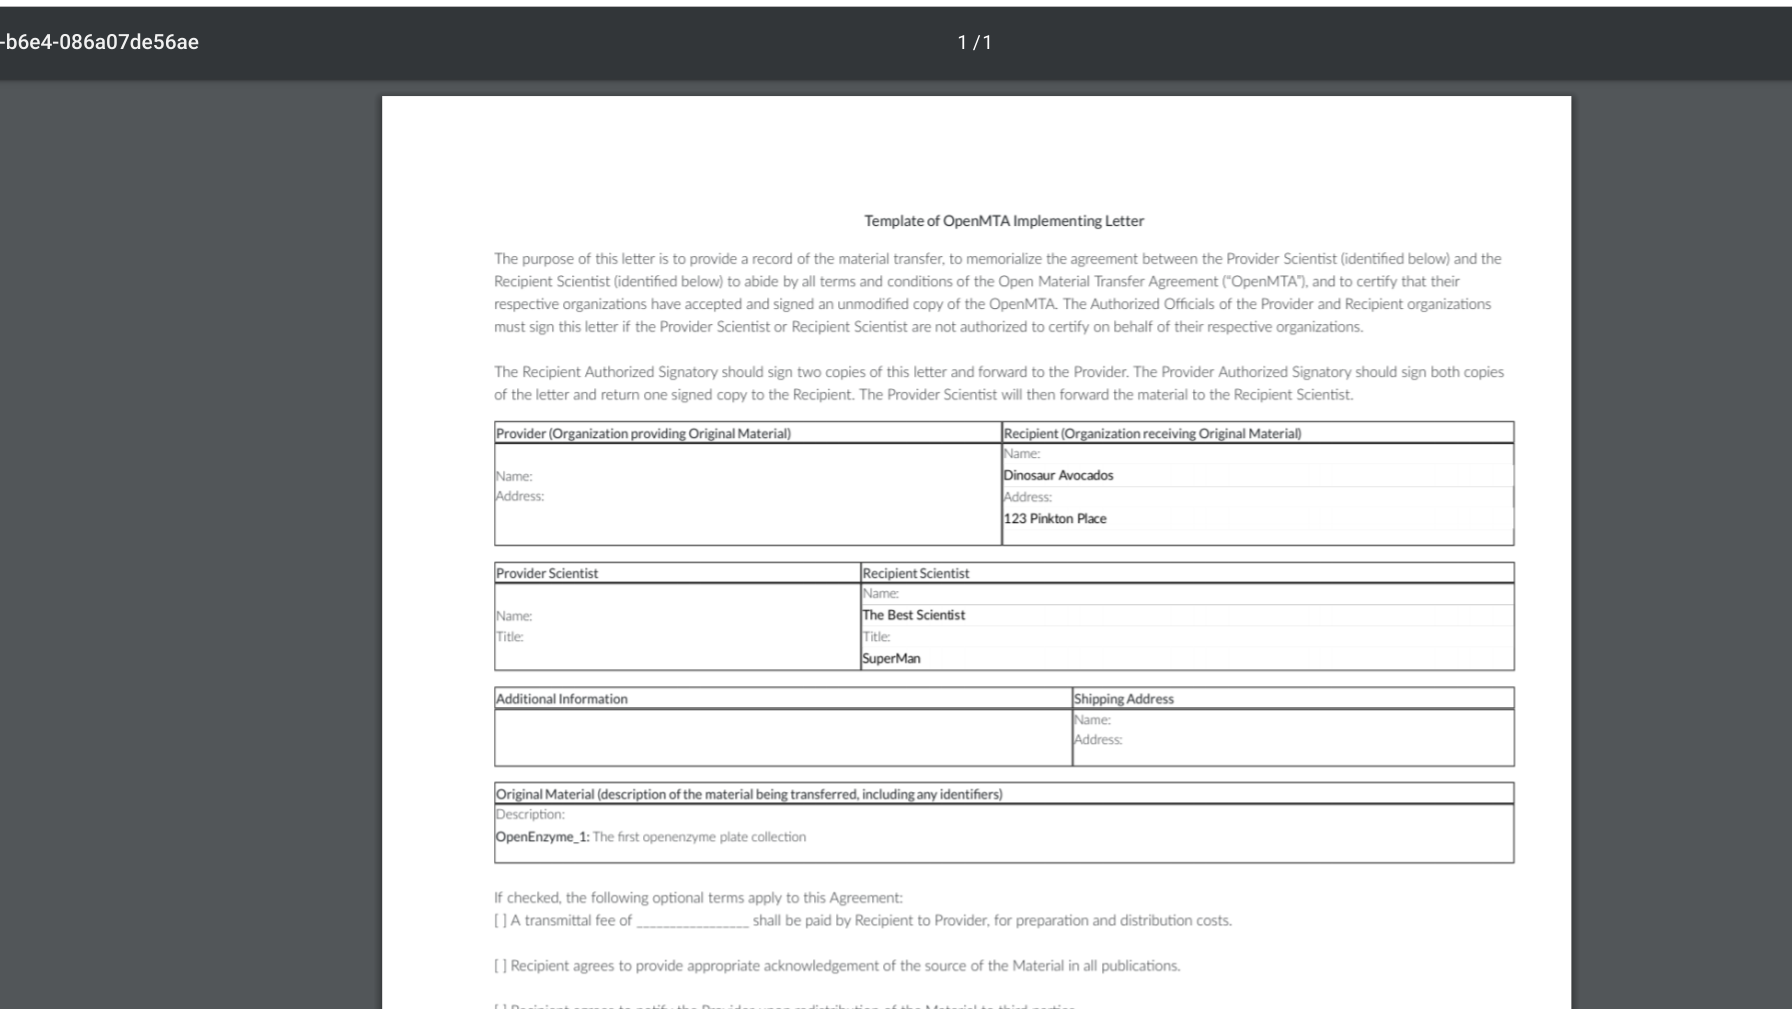
Checkout first checks if the user has signed a material transfer agreement for the order. In the case of not, the user is redirected to a page to read, fill out fields, and then download the form as a PDF.
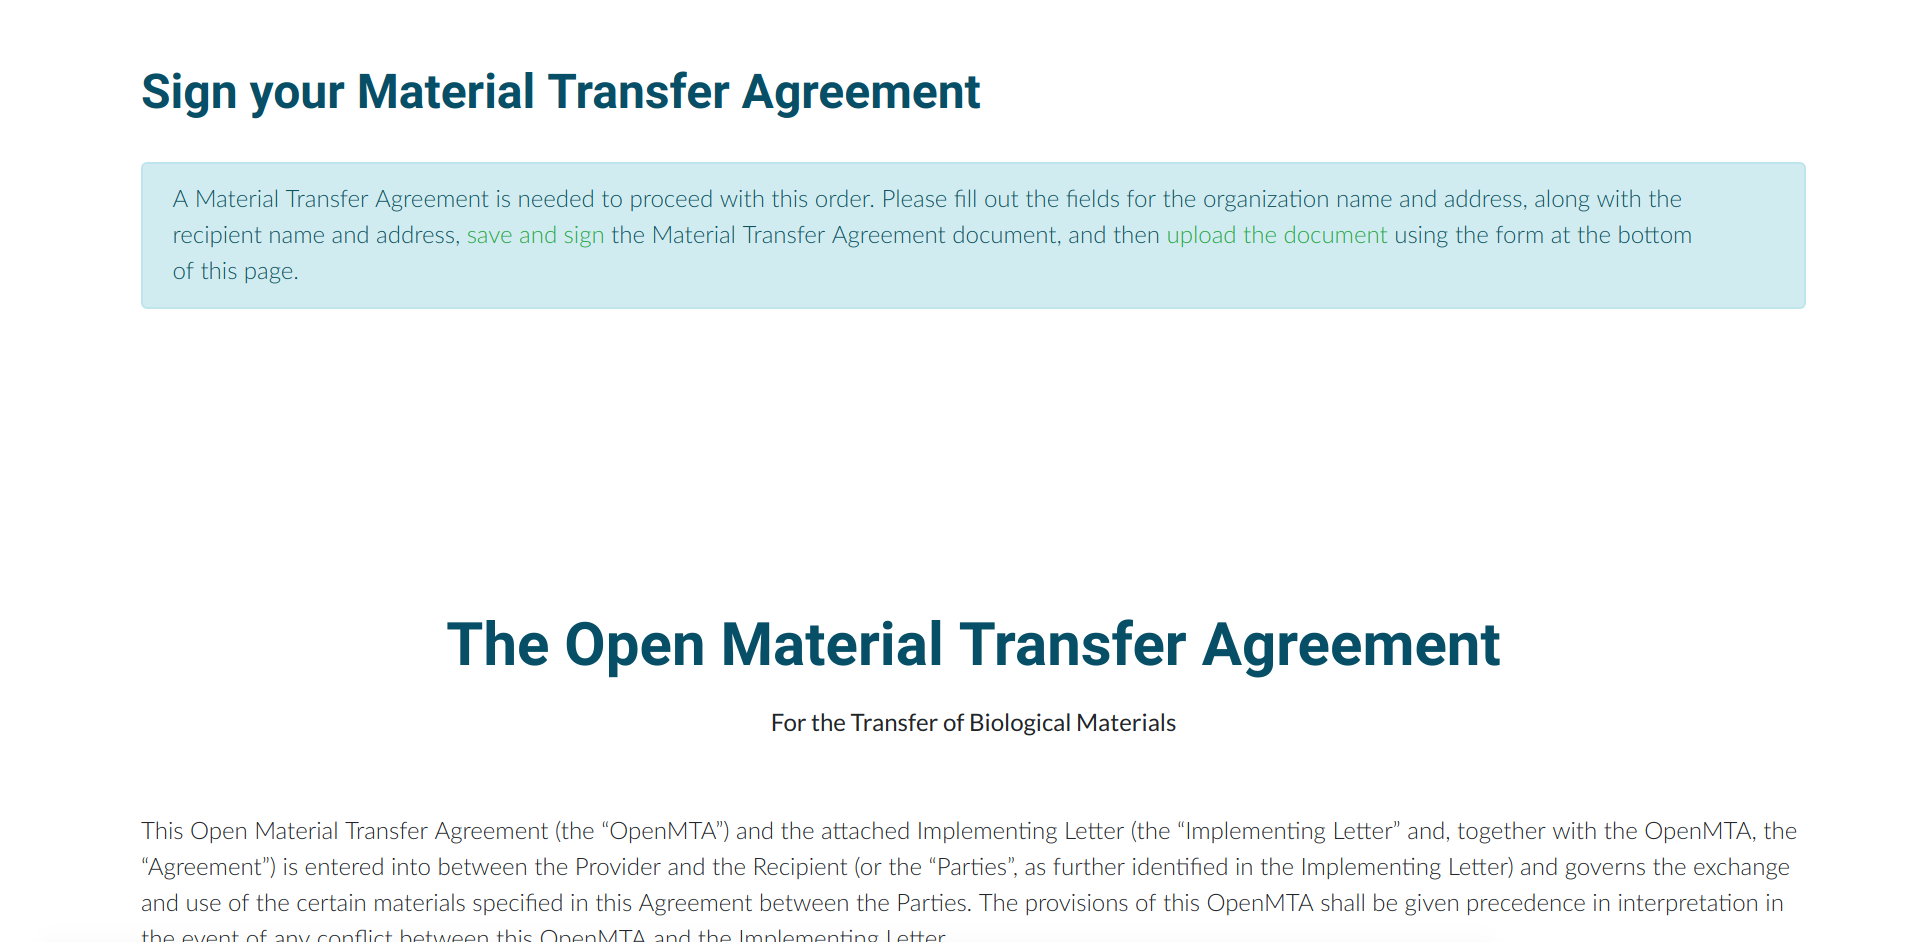
Once the form is signed, the user can re-upload it in the same interface.
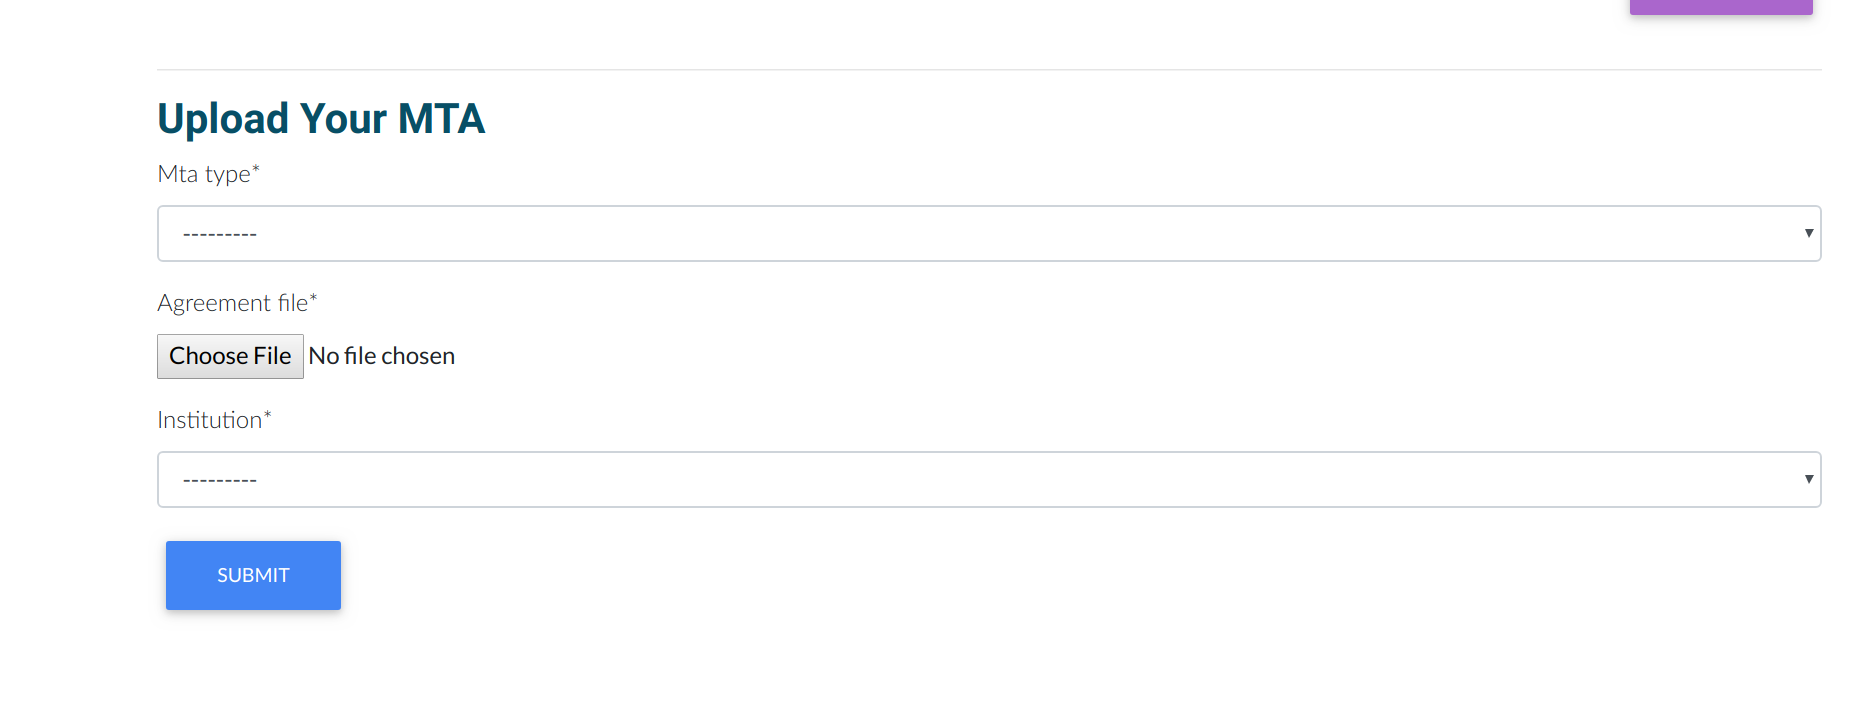
A successful upload redirects the user to the actual Checkout form.
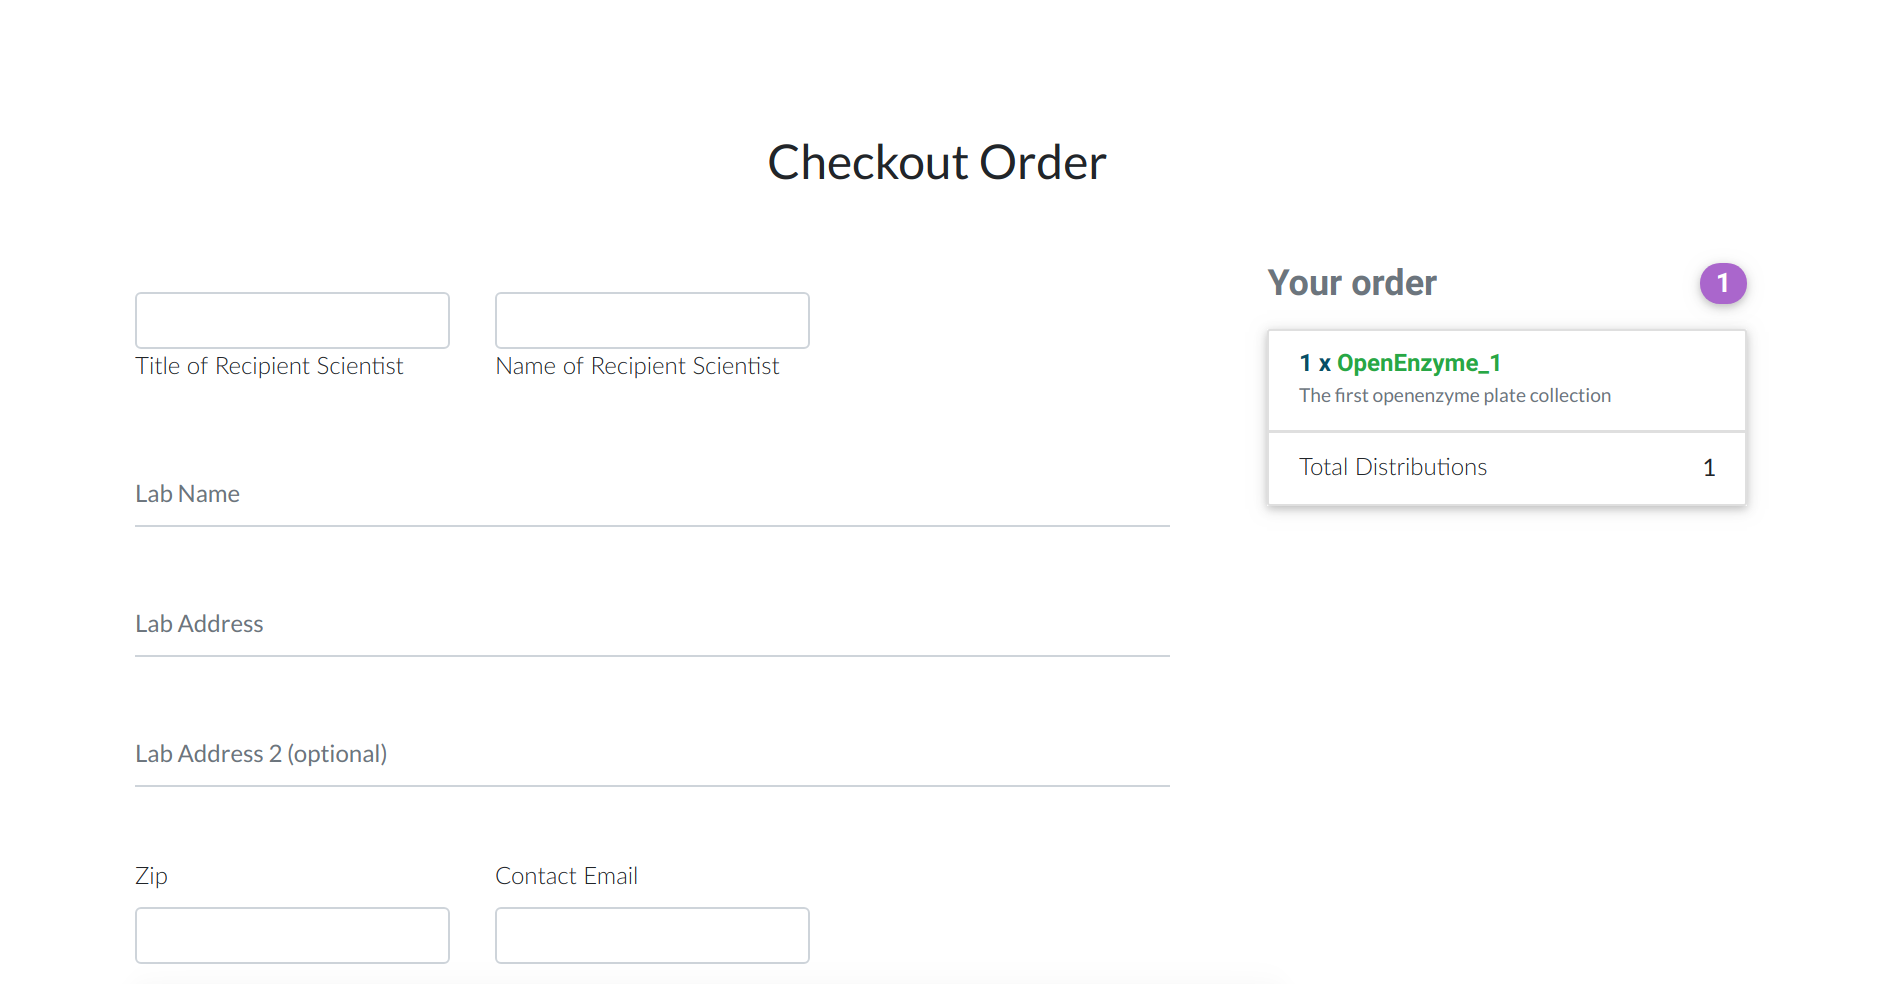
The checkout form saves the lab address and shipping address associated with the order to the database, and uses SendGrid to notify the lab of a new order. The link to the order is included in the email for the lab to continue processing the shipment.
Factory
The base of the factory is creating gene orders, and there are several simple models to do this.
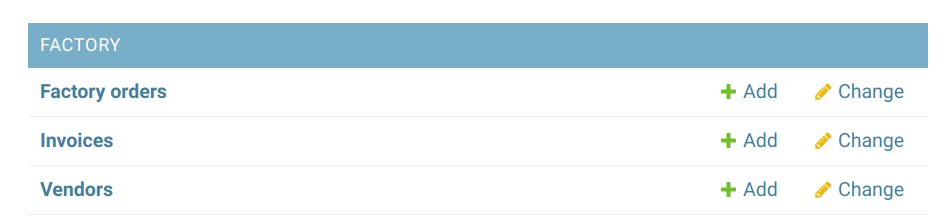
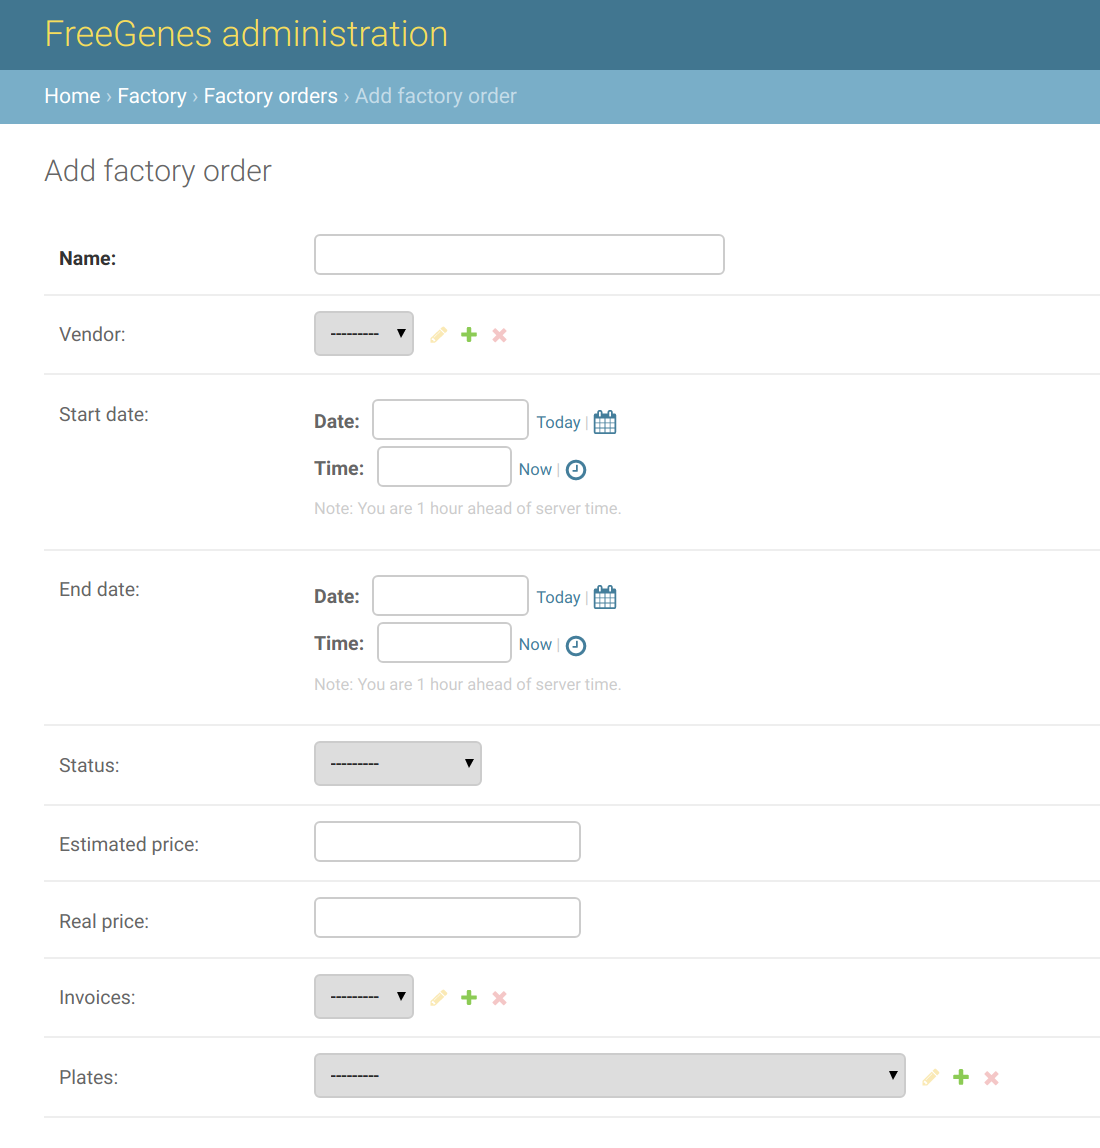
For example, when you click to add a new FactoryOrder, you are able to specify start and finish dates, prices, and upload Invoices.
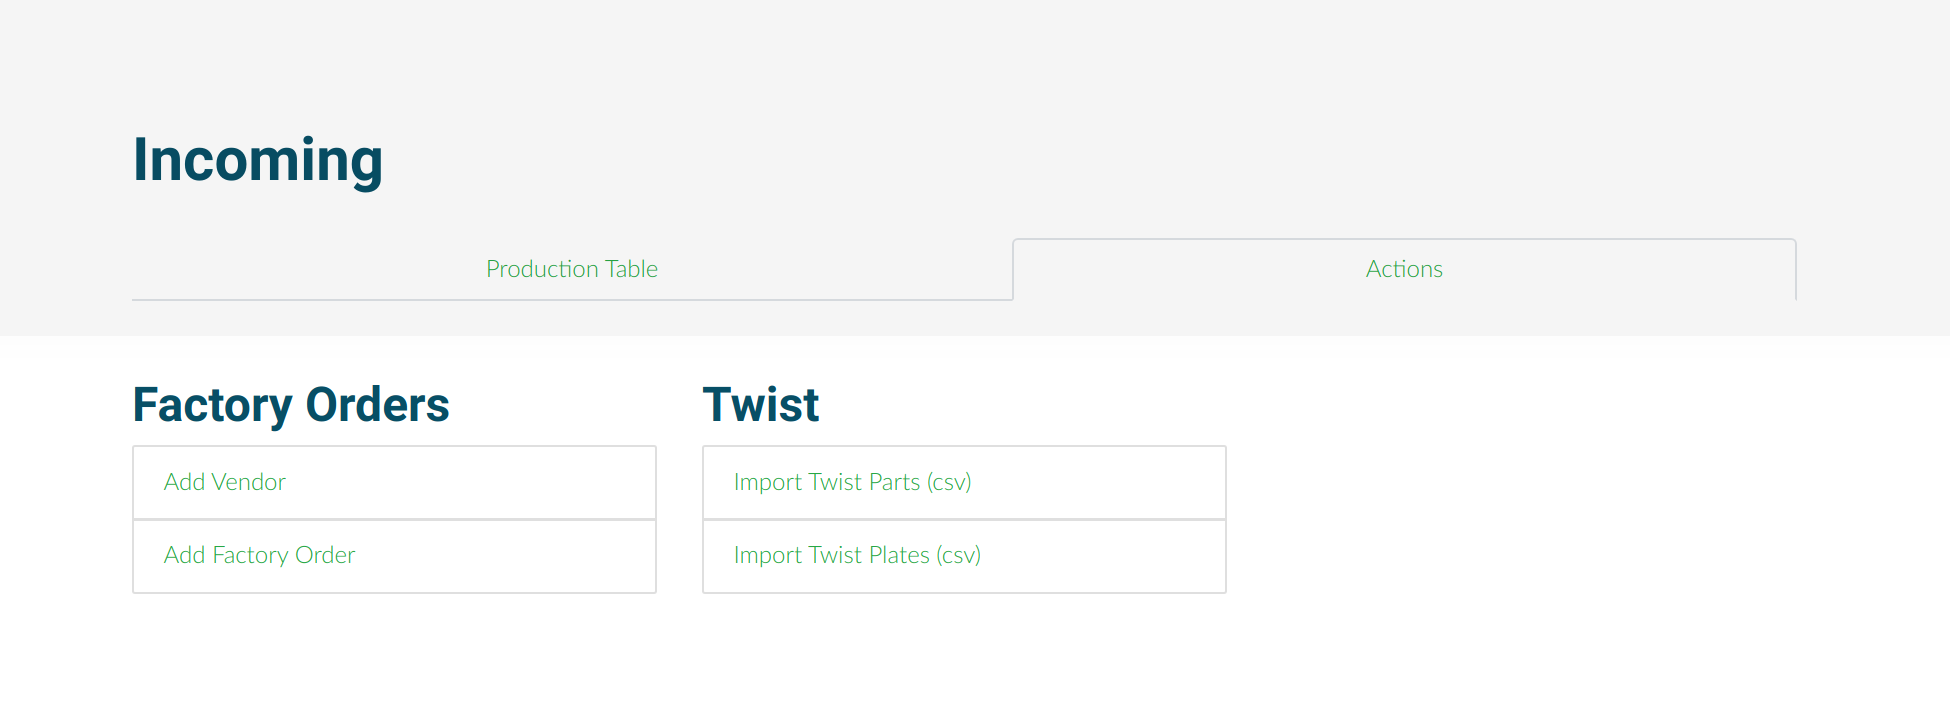
Most of the updates to these models can be handled with the Admin interface, but for custom functionality we also have the Factory views page. This page is only viewable by staff and superusers. The main tab shows the production table for factory orders:

And the Actions tab shows a selection of options for the lab staff, which is currently sparse because we are only working on importing from Twist, Shippo, and creating orders:
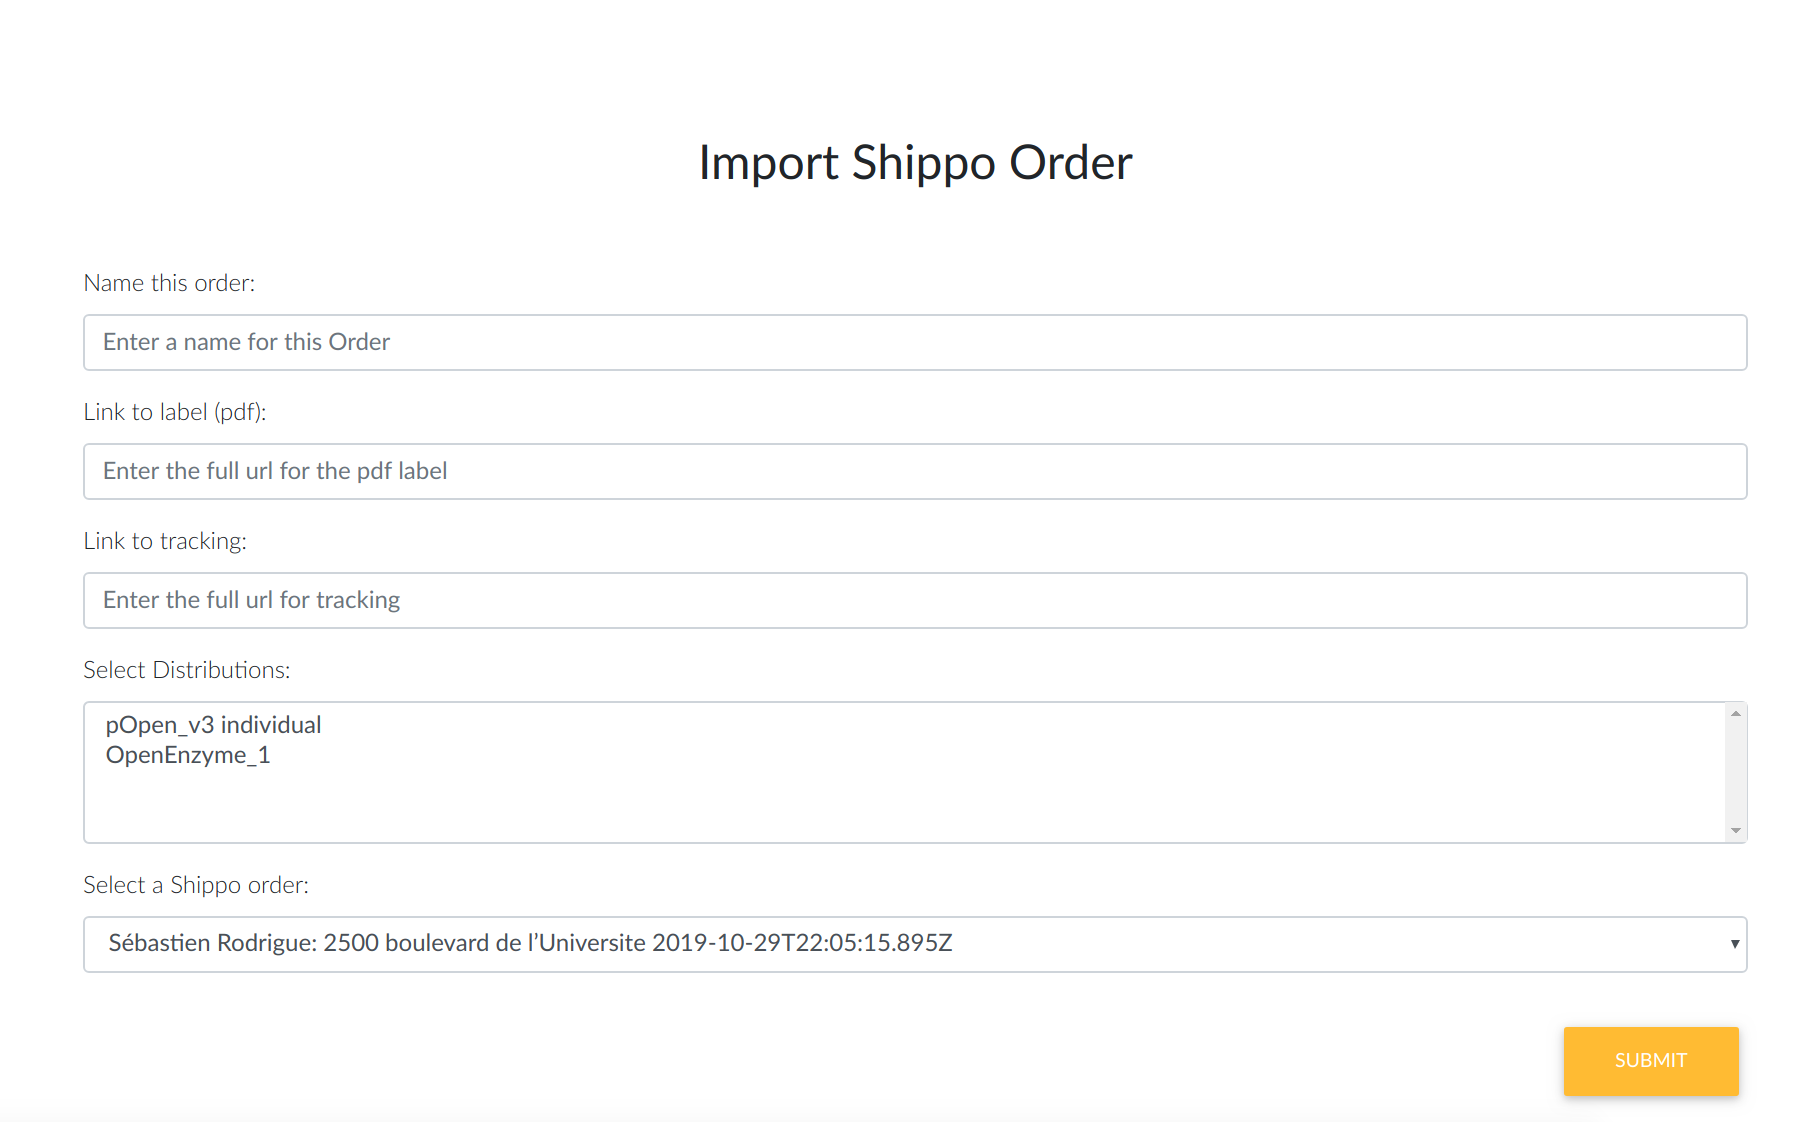
For example, here is the “Import Shippo” page. This imports a shipment, but asks the user to provide both the tracking url and the label (pdf url) as the Shippo API cannot reliably return a transaction or label created outside of it.
Import Twist Parts
Starting from a Twist csv export with Parts associated with a factory order,
you can import those parts to be associated with a FactoryOrder.
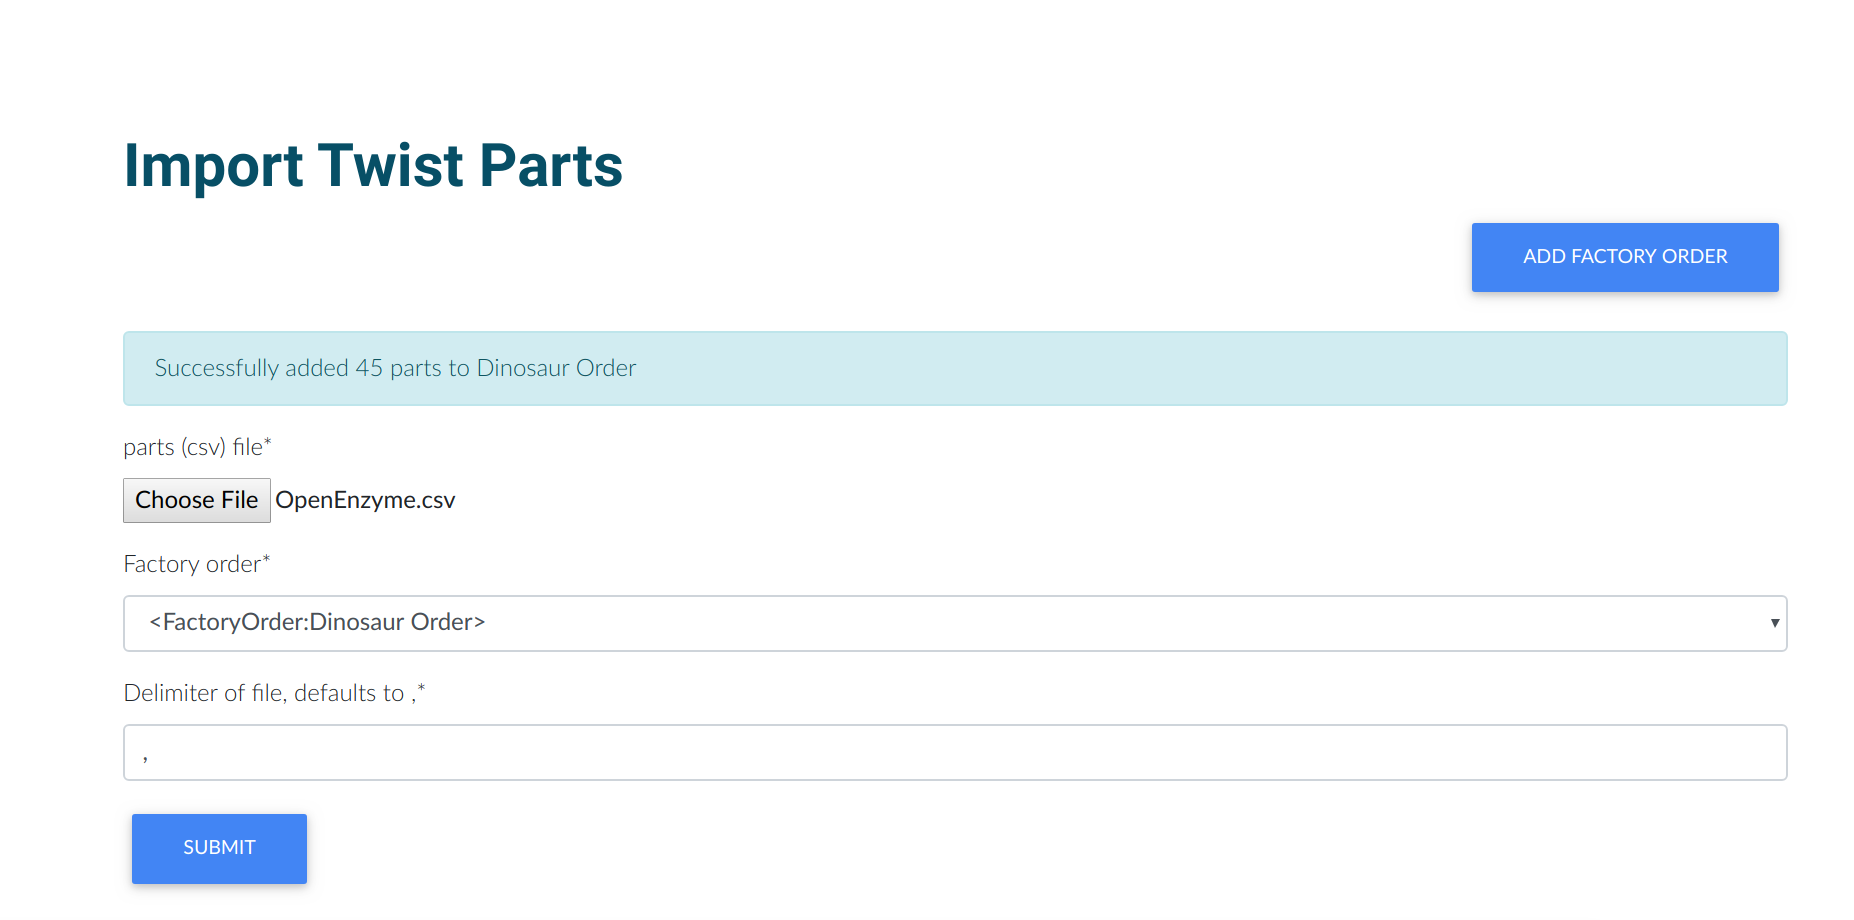
All parts must already be represented in FreeGenes to do the import.
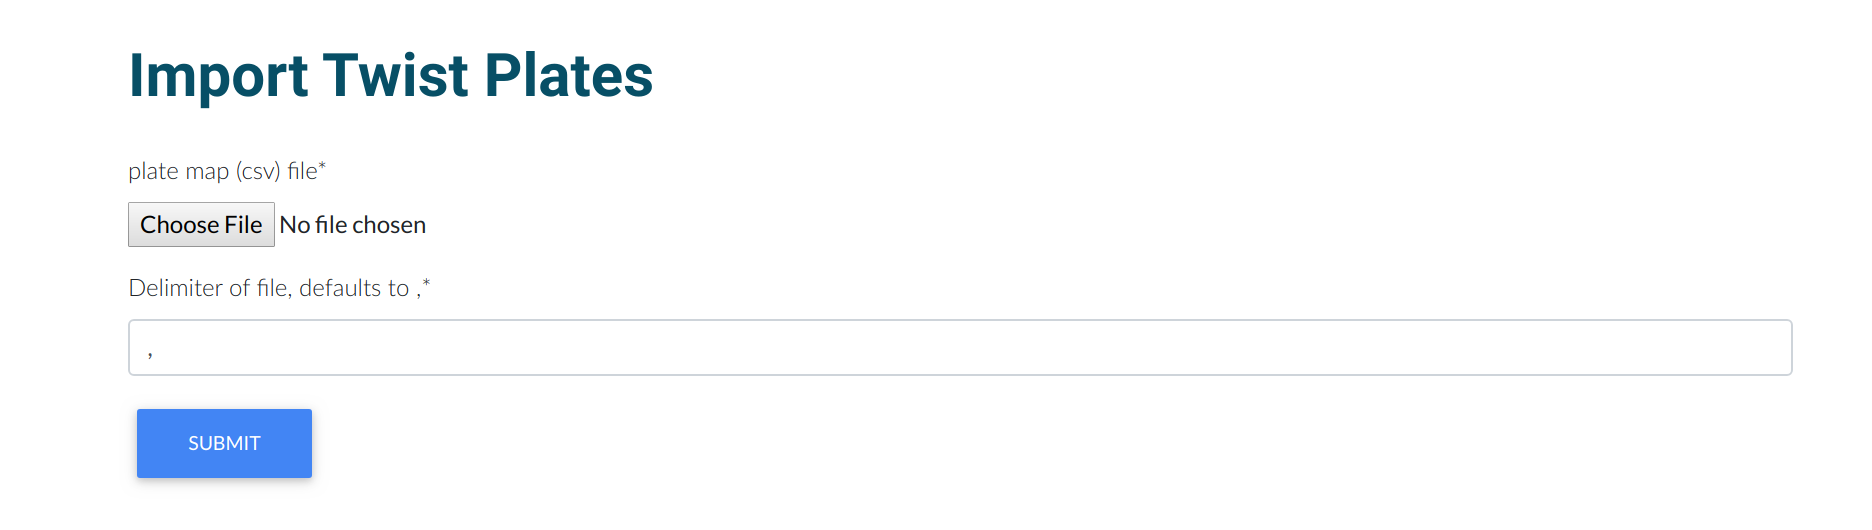
Import Twist Plate Map
When you click to import a twist plate map (csv), you are presented with a form to upload it:
When you click Submit, if the plate doesn’t already exist, you’ll be asked for metadata about it:

And then you can click the submit button to add to FreeGenes. Note that this view creates plates and wells, but does not generate samples.
Shipments
The lab can then receive the email, click a link to go directly to the order and download the MTA:
And then use a similar form to re-upload, finish processing on their side, and continue with preparing the order. The interface for creating the shipment is what you would expect - the lab enters the addresses needed to create the shipment, along with the dimensions of the parcel:
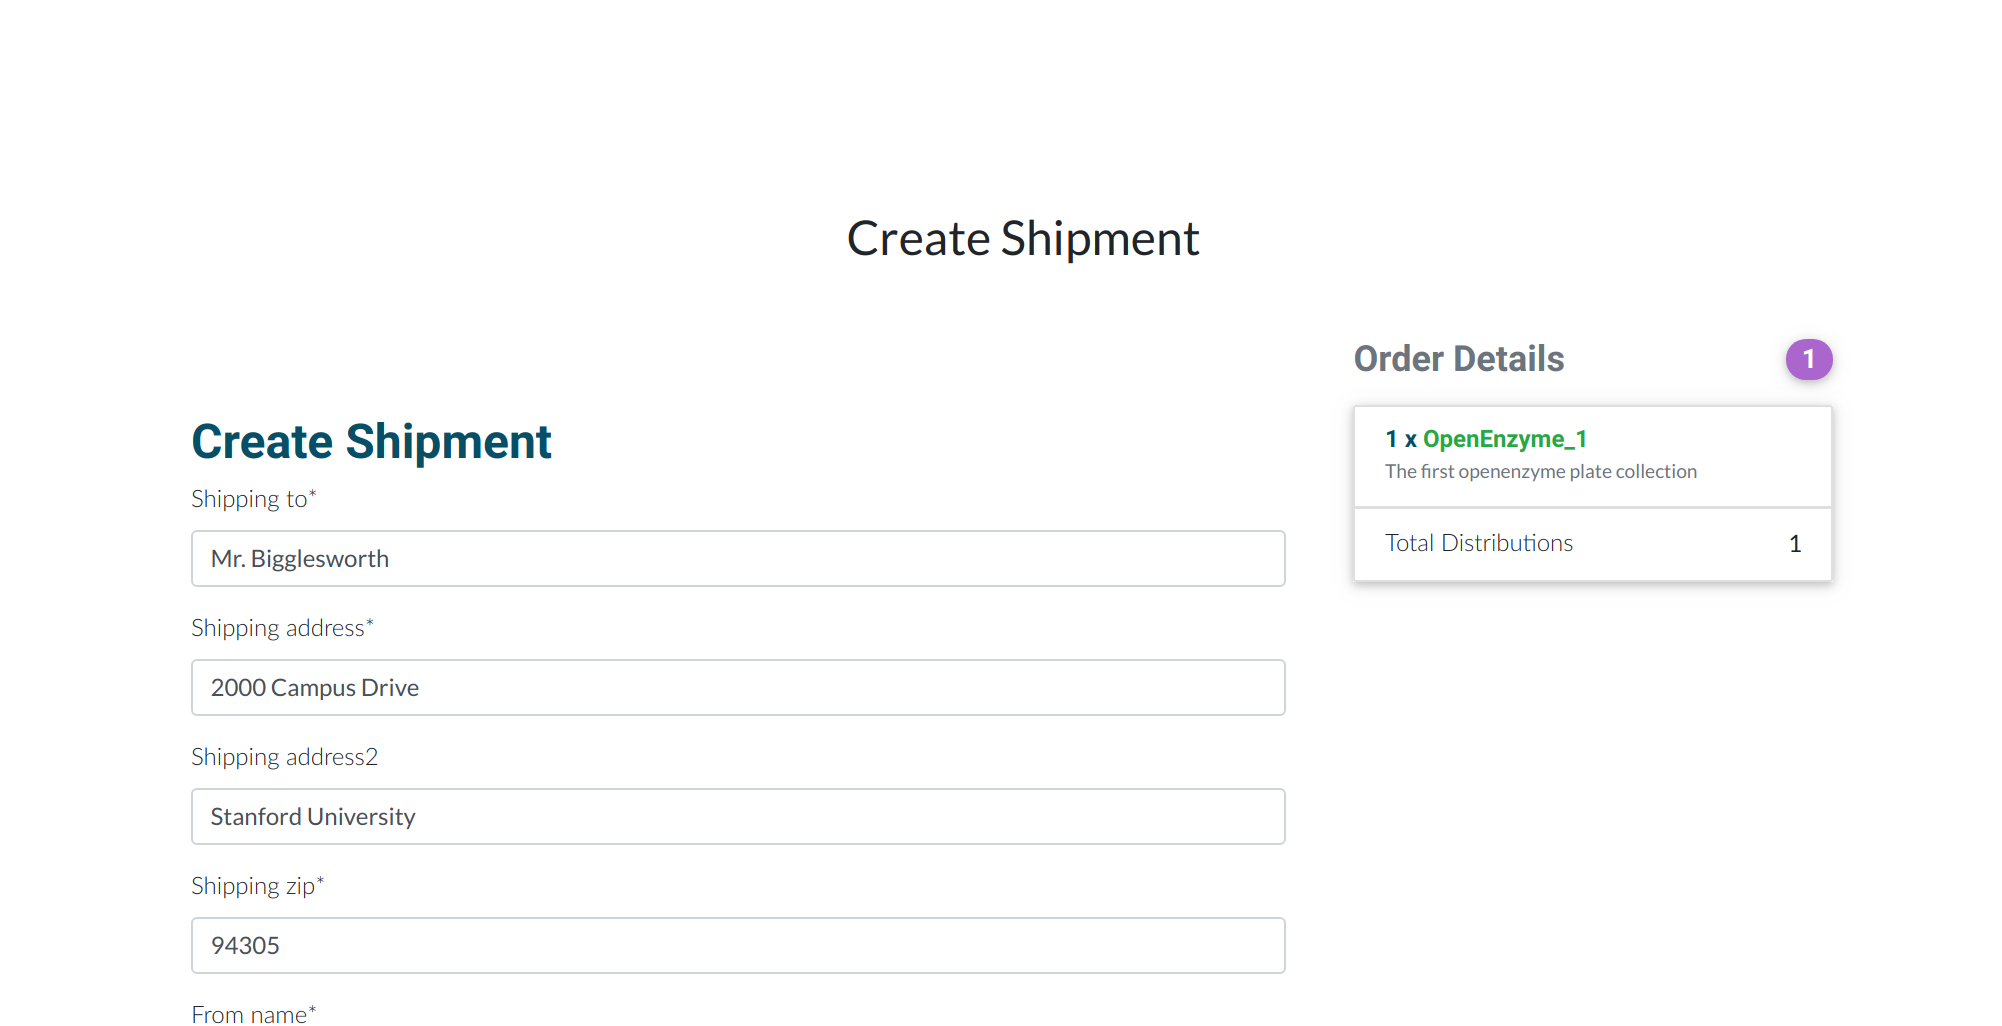
The requester can also decide to include dry ice or not. If either of the addresses aren’t valid, the user is returned to the page with instructions to fix. In the case that the user is returned to the page, a button is presented that will re-load the addresses information from local storage so the user doesn’t need to re-enter it. If the shipment is valid, the user is then presented with the shipping rate options:
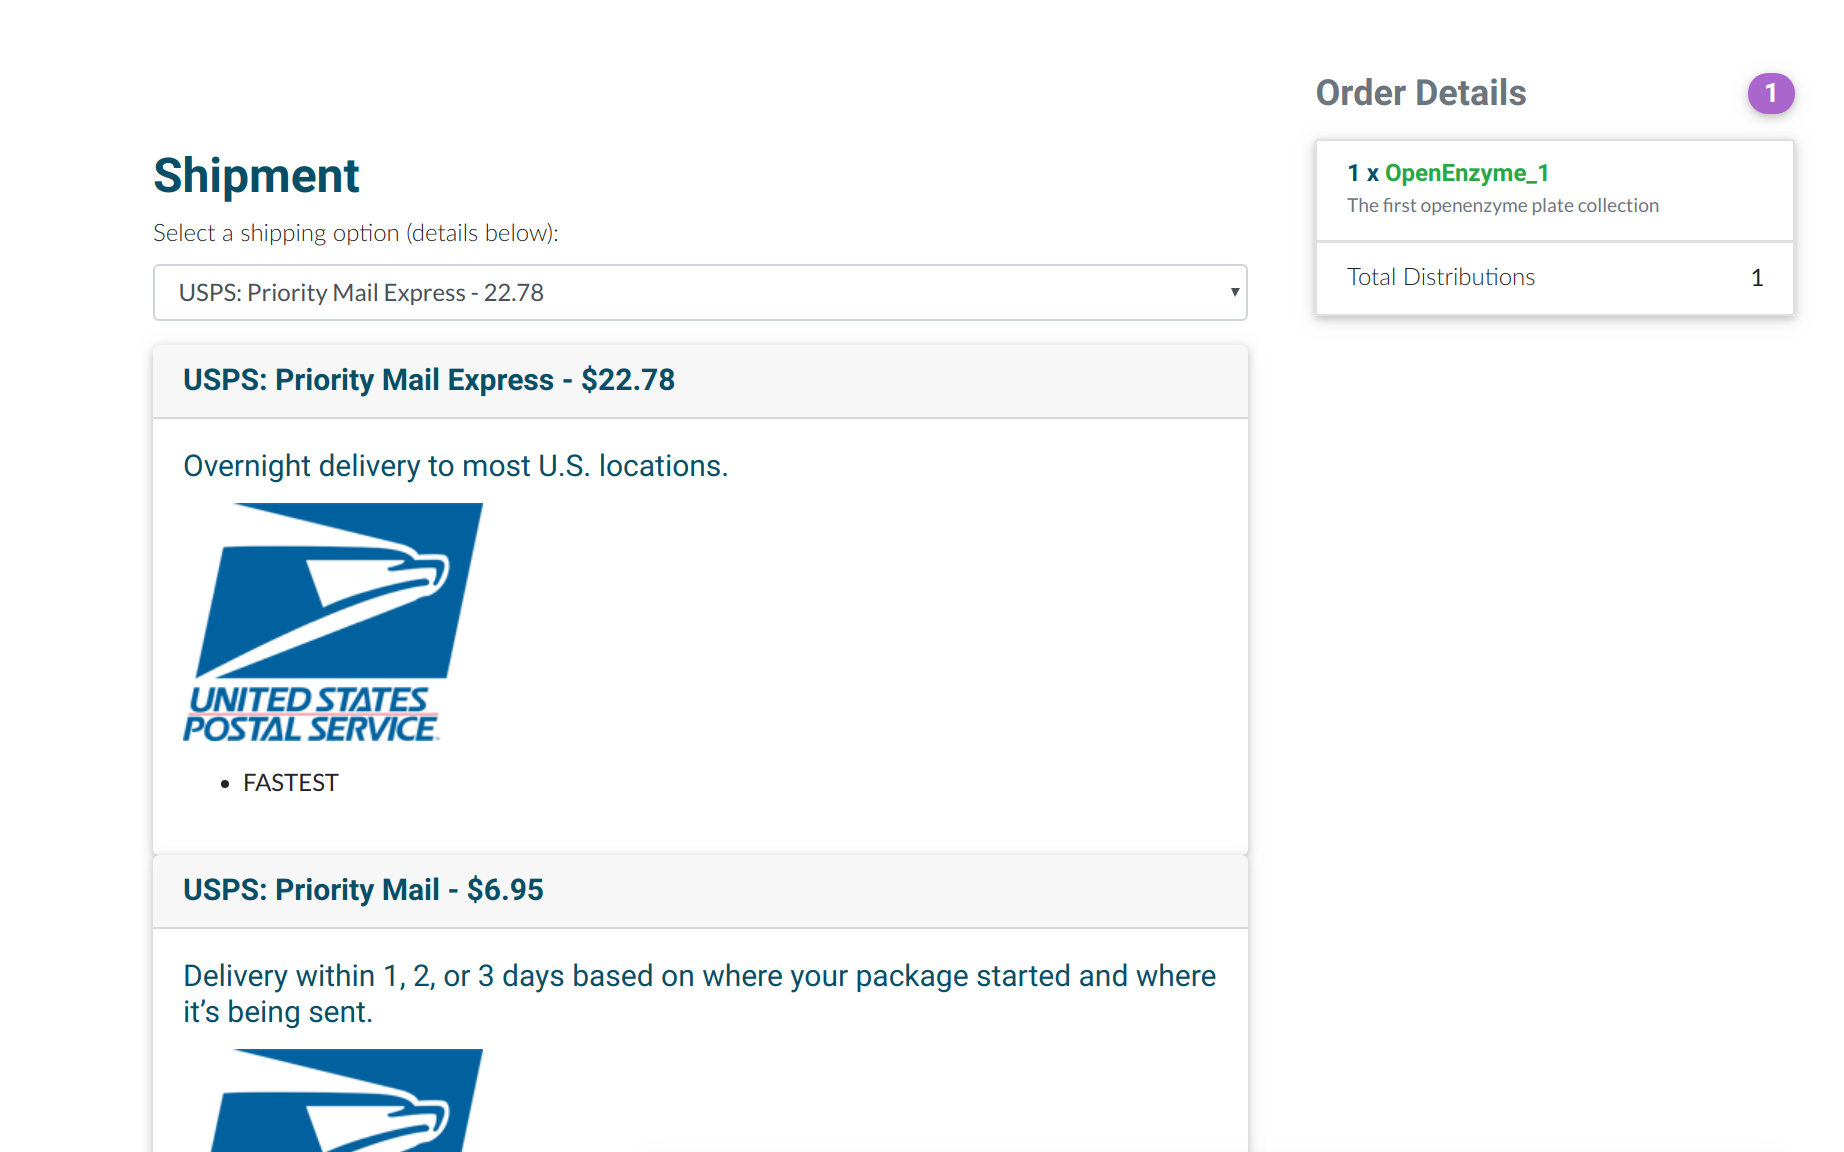
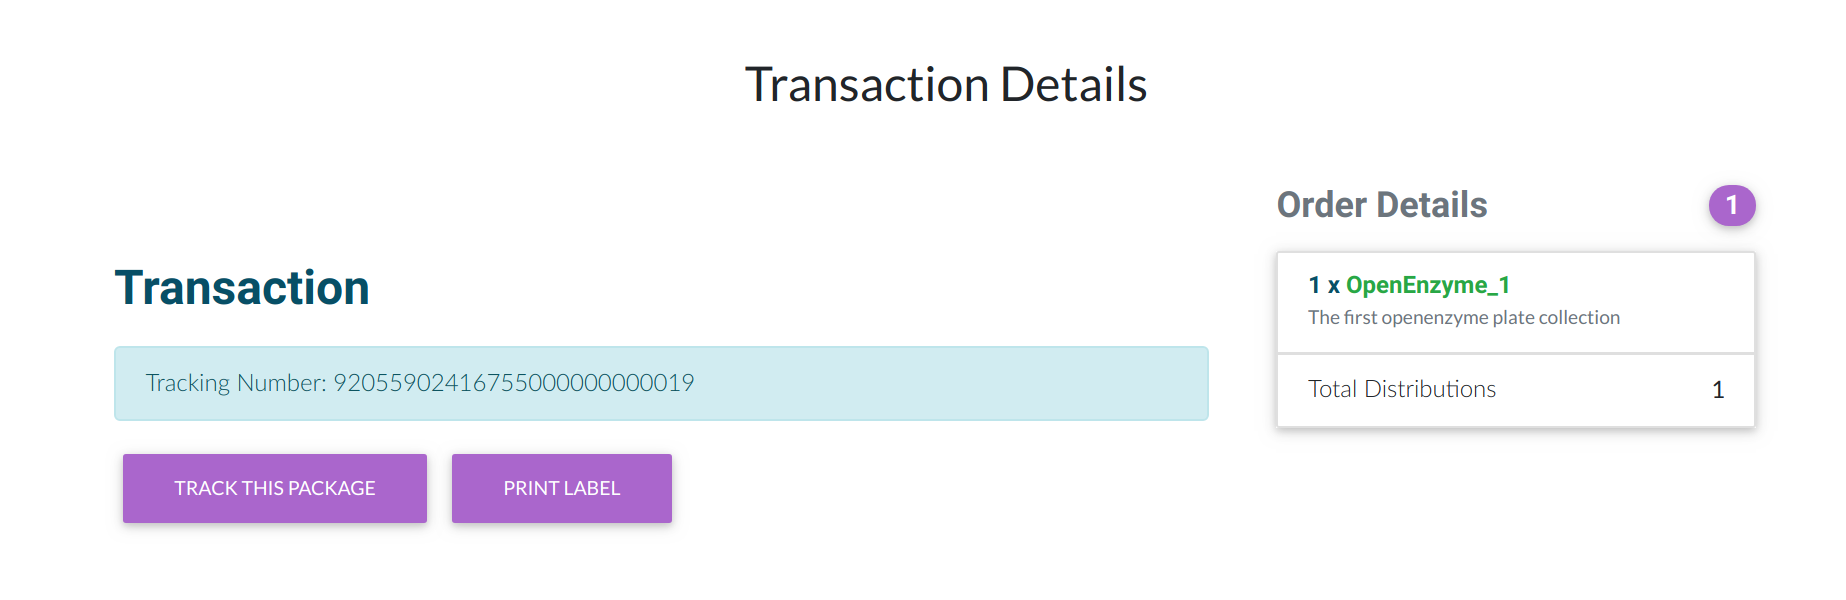
Selecting a rate first needs to create and validate the transaction. The user is taken to a page that shows it’s valid, and then (for the first round, given that there is no label) the user can click a button to generate one when ready. Once the label is generated, the user can choose to print it, or track the package:
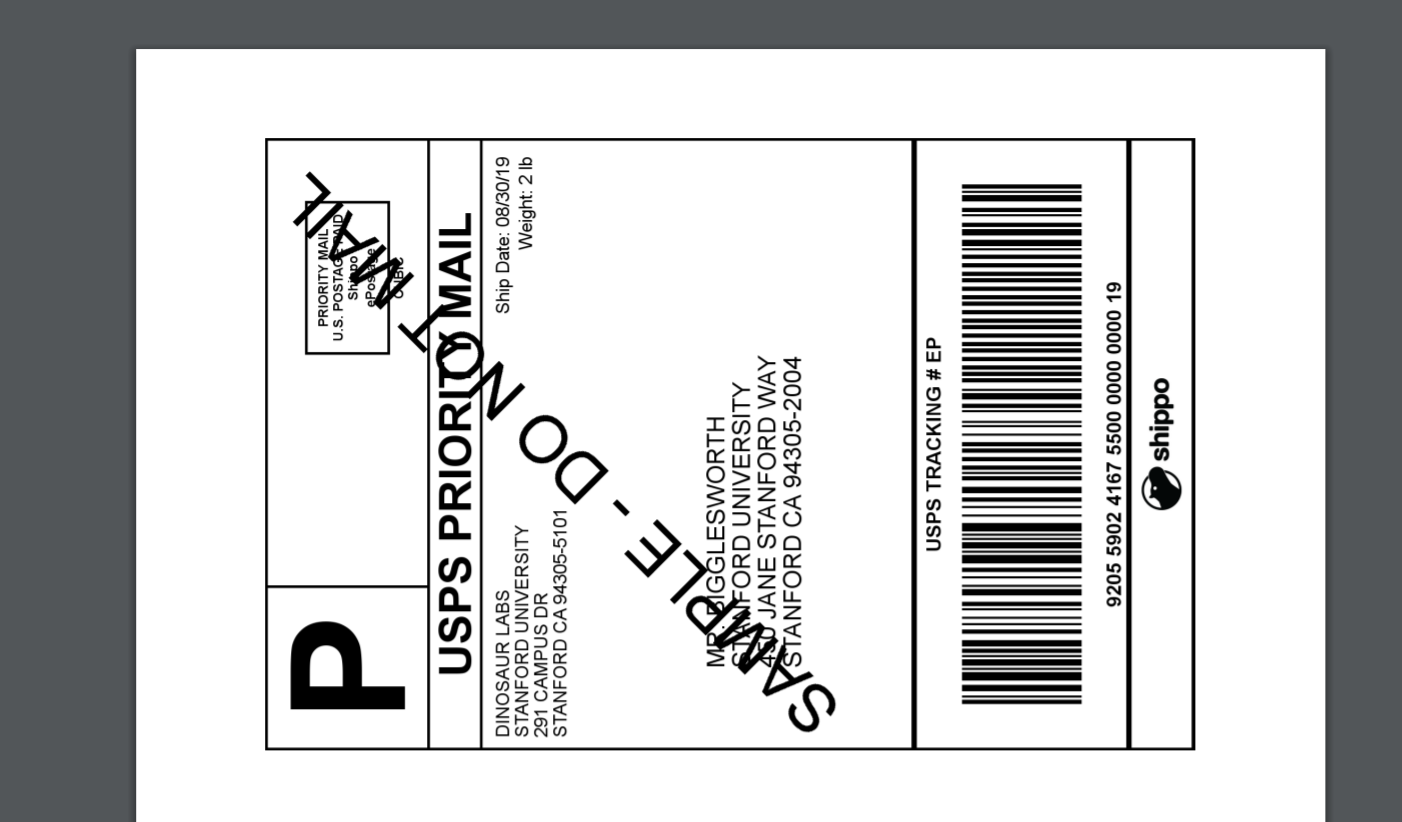
The label prints as a PDF that opens in a new window:
And the tracking url is standard, provided by the service selected (the testing api appears to return an already used number):
![]()
Search
The main entrypoint for finding content is via search. A basic search (from the home page or the search endpoint) will search across all models in the database, and return a list of results:
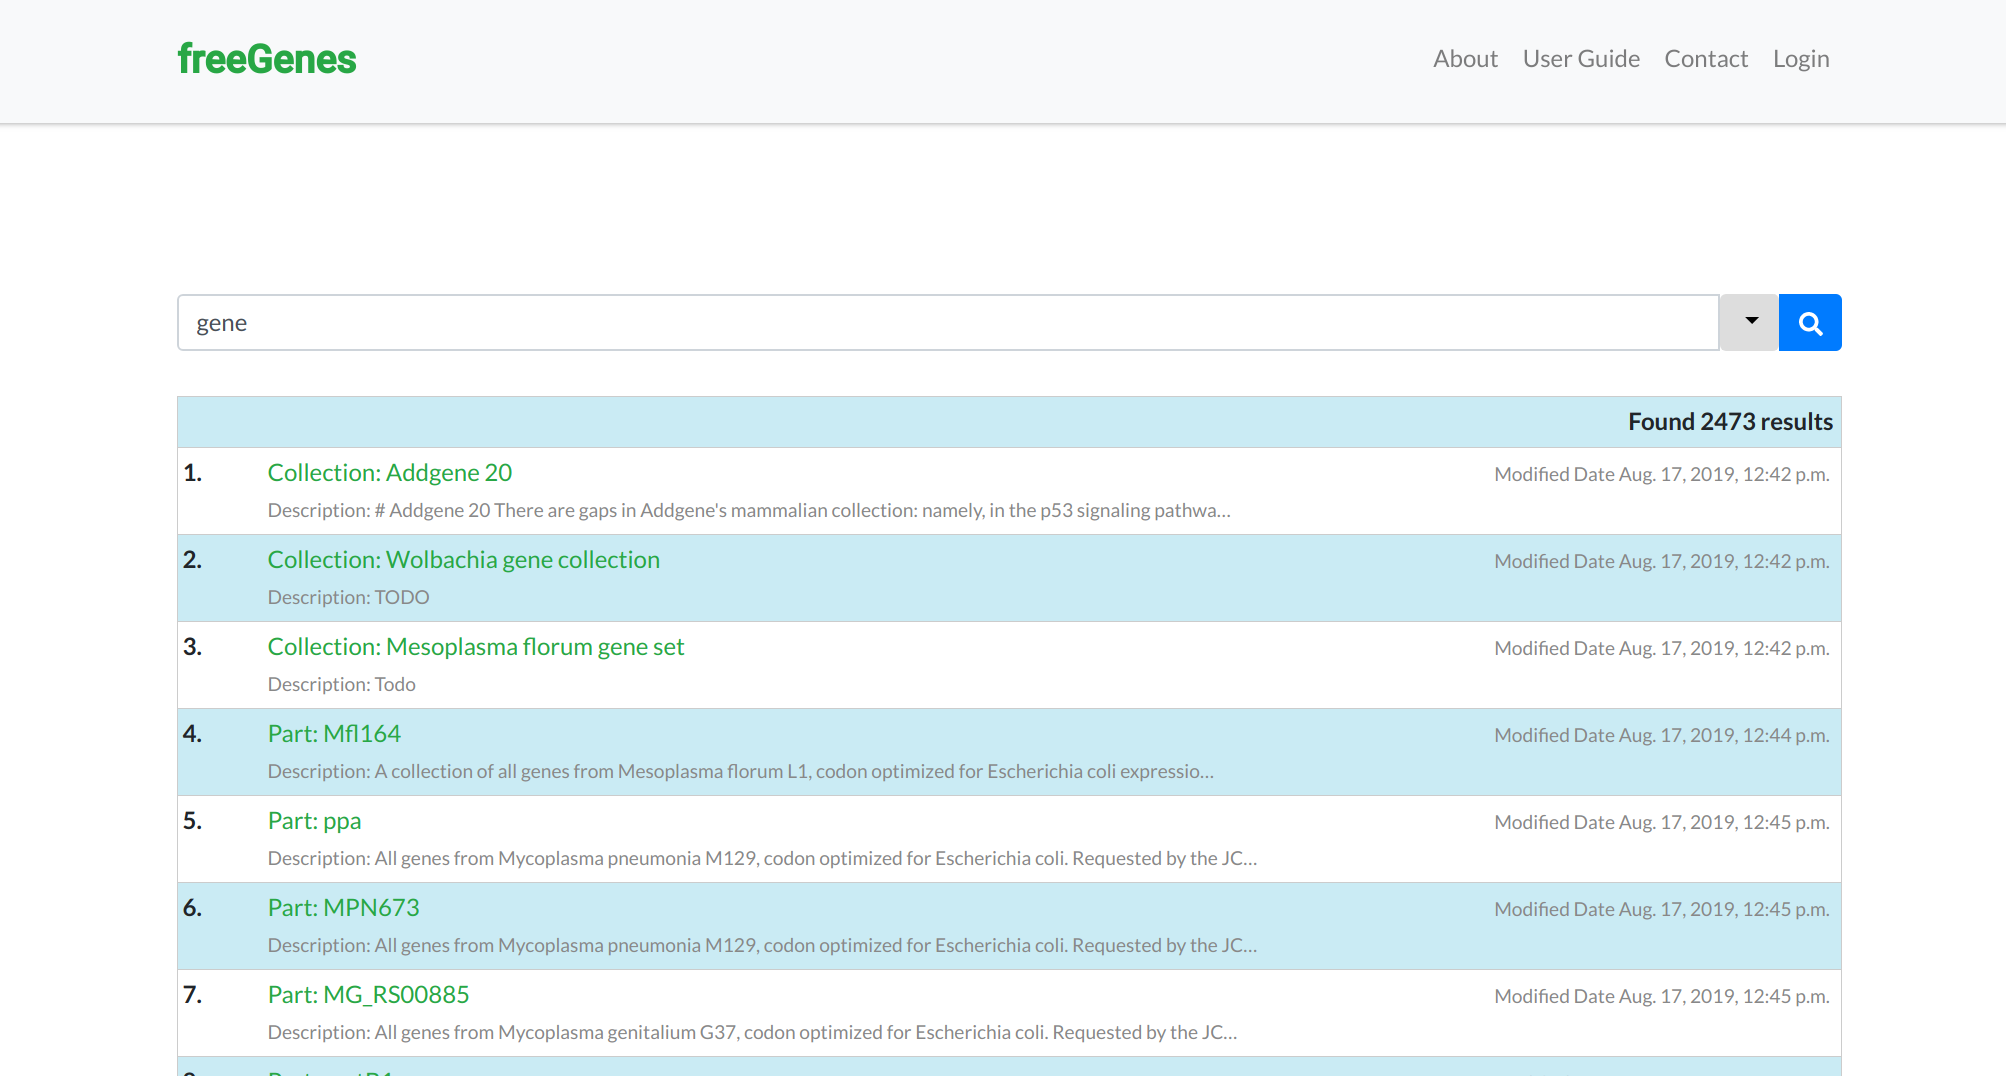
The results link to details views for their respective entities. The user will need to be authenticated to see some of the details, but for the most part, information is public. There is also a category based view, where a user that knows what he or she is looking for can browse the category directly:
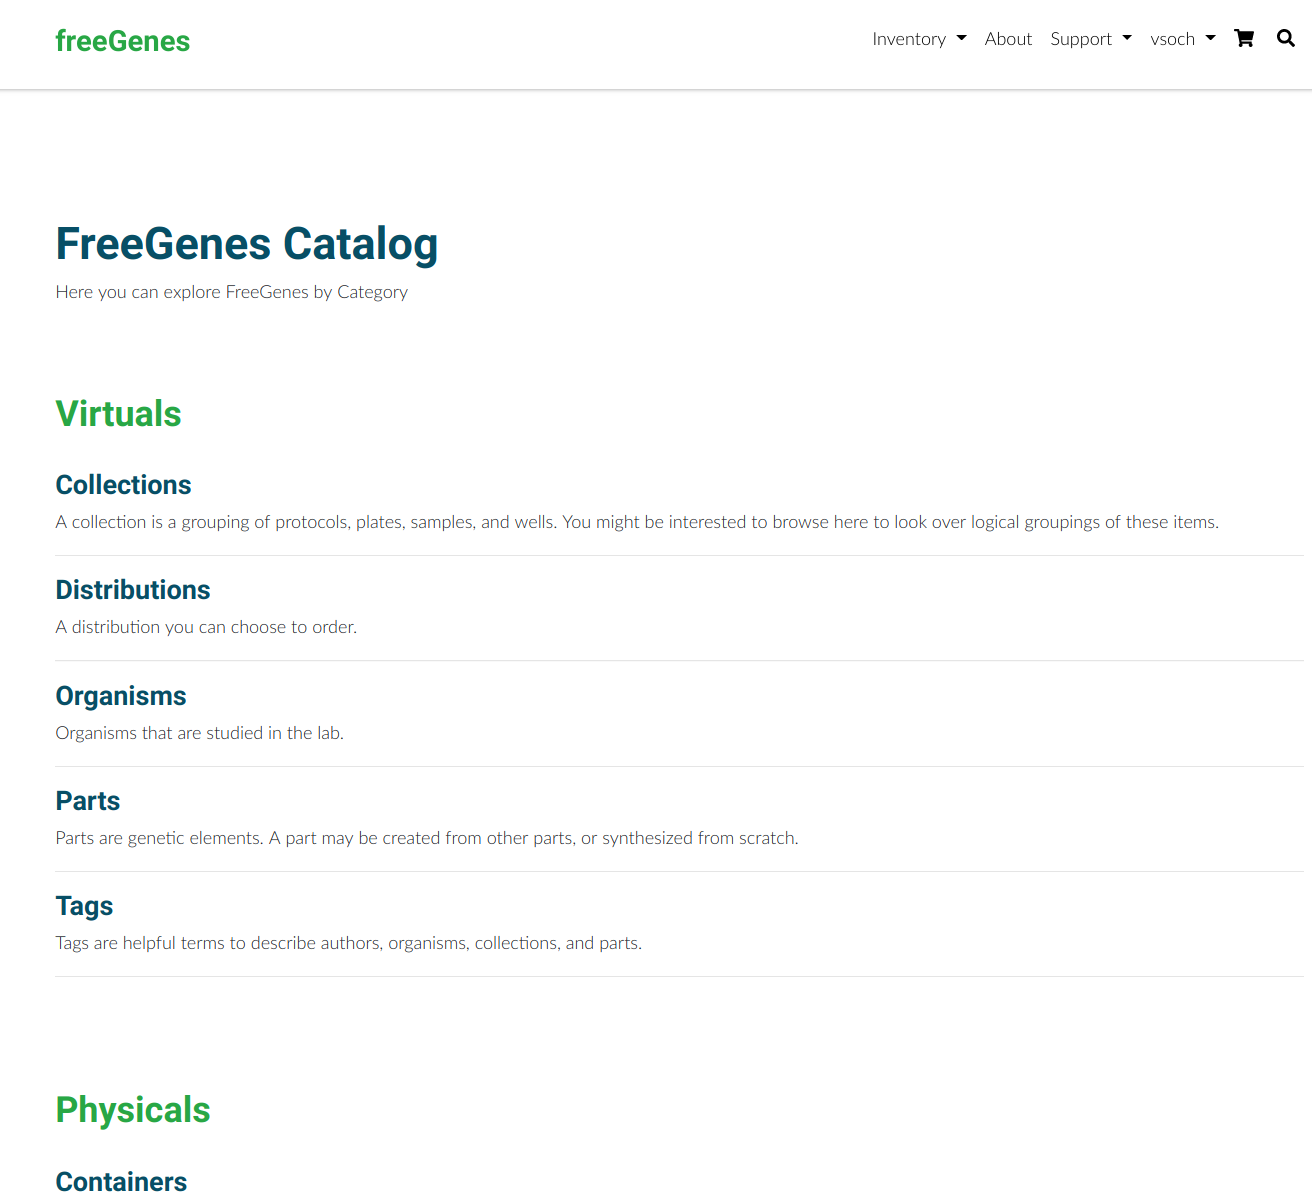
Categories are split into “Virtuals,” or virtual representations of lab objects that are relevant for browsing users, and “Physicals” that are relevant for the lab staff, and only viewable by an admin user. Viewing any particular listing of entities will show the catalog of interest. For example, here is the Collections catalog.
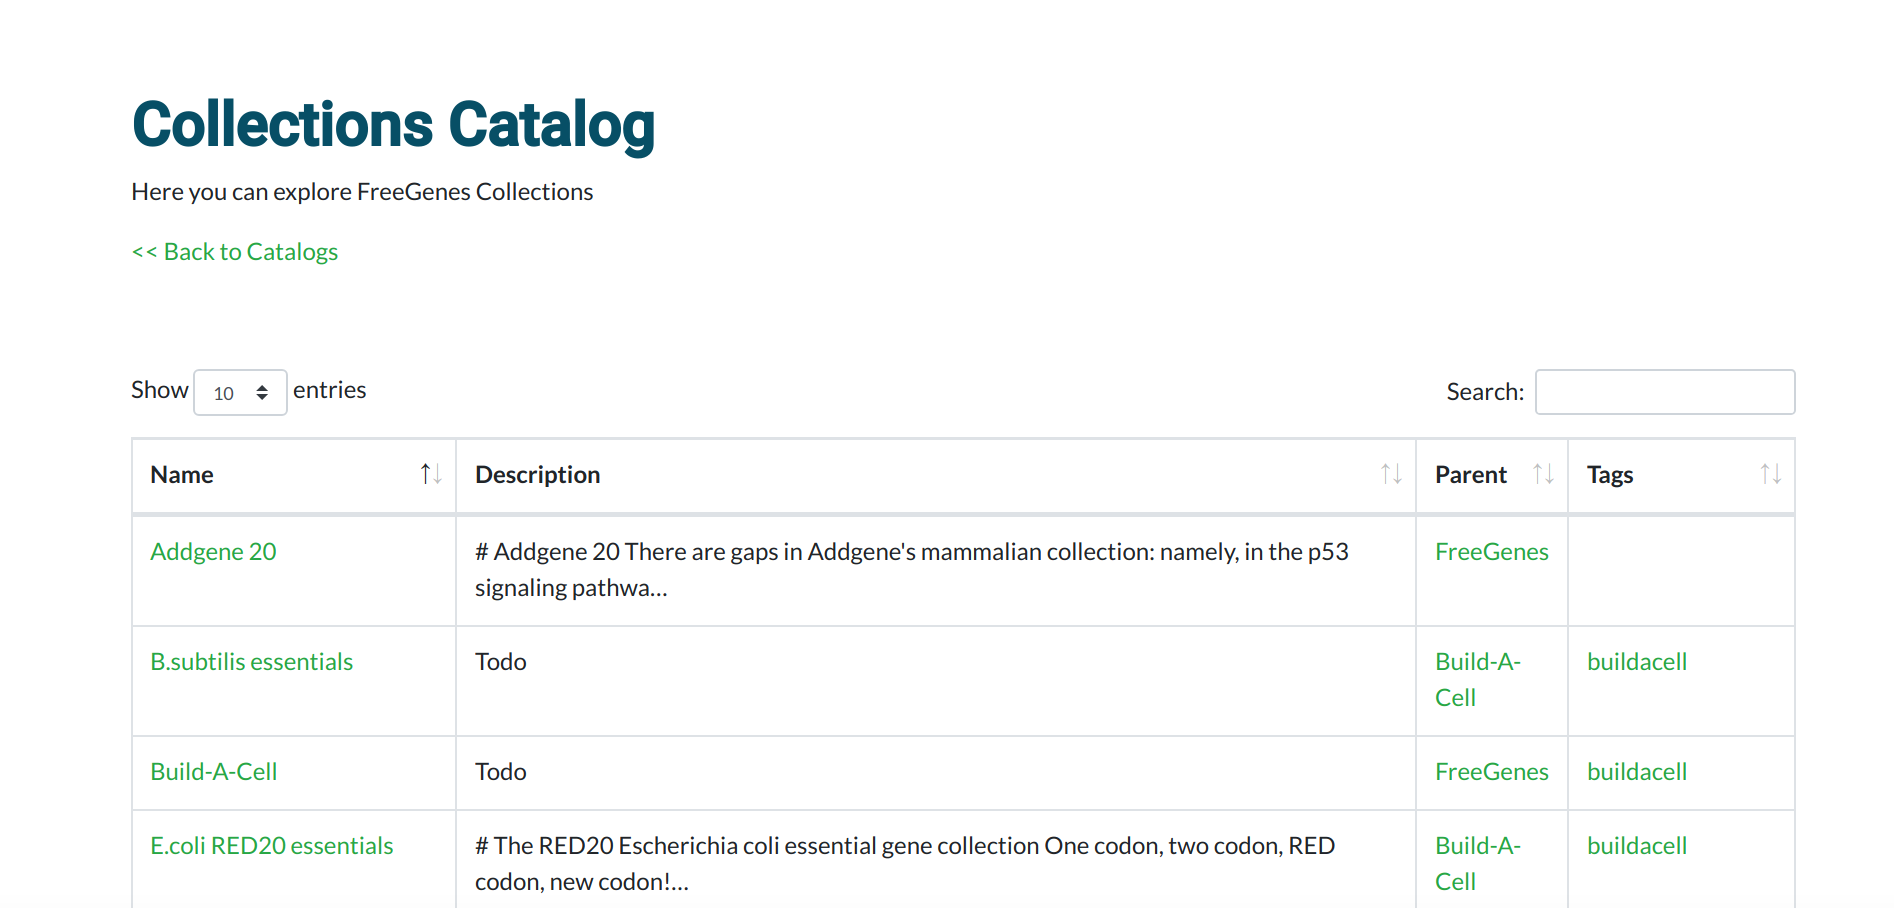
Since the size of collections is small, this single table provides all entities that are sortable and searchable. A larger catalog (e.g. parts) would be paginated on the server, and provide a custom search box for searching (server side). Front end rendering and search of the table would be inexusibly slow.
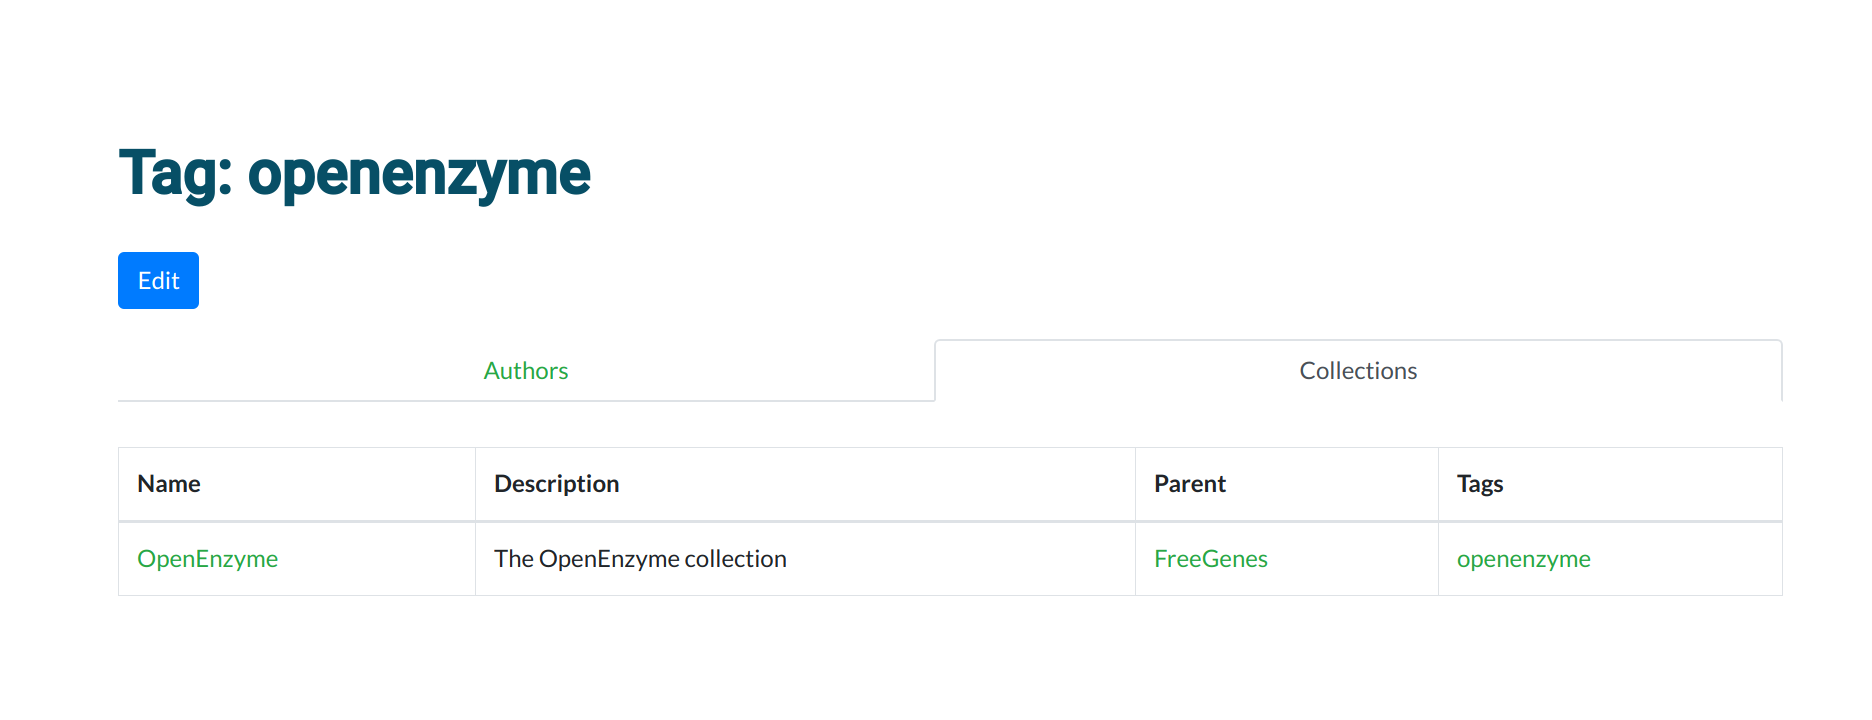
To zoom in further to a detail page, here is an example for a tag detail - in the case of a tag, a tab is rendered with subtypes (e.g., collections, organisms, parts, or other) only if the tag is associated with said subtype.
Maps
Lab Map
If you are a staff in the lab, you can click on your username in the top right and select “Map” to see an expanded, lab map view:
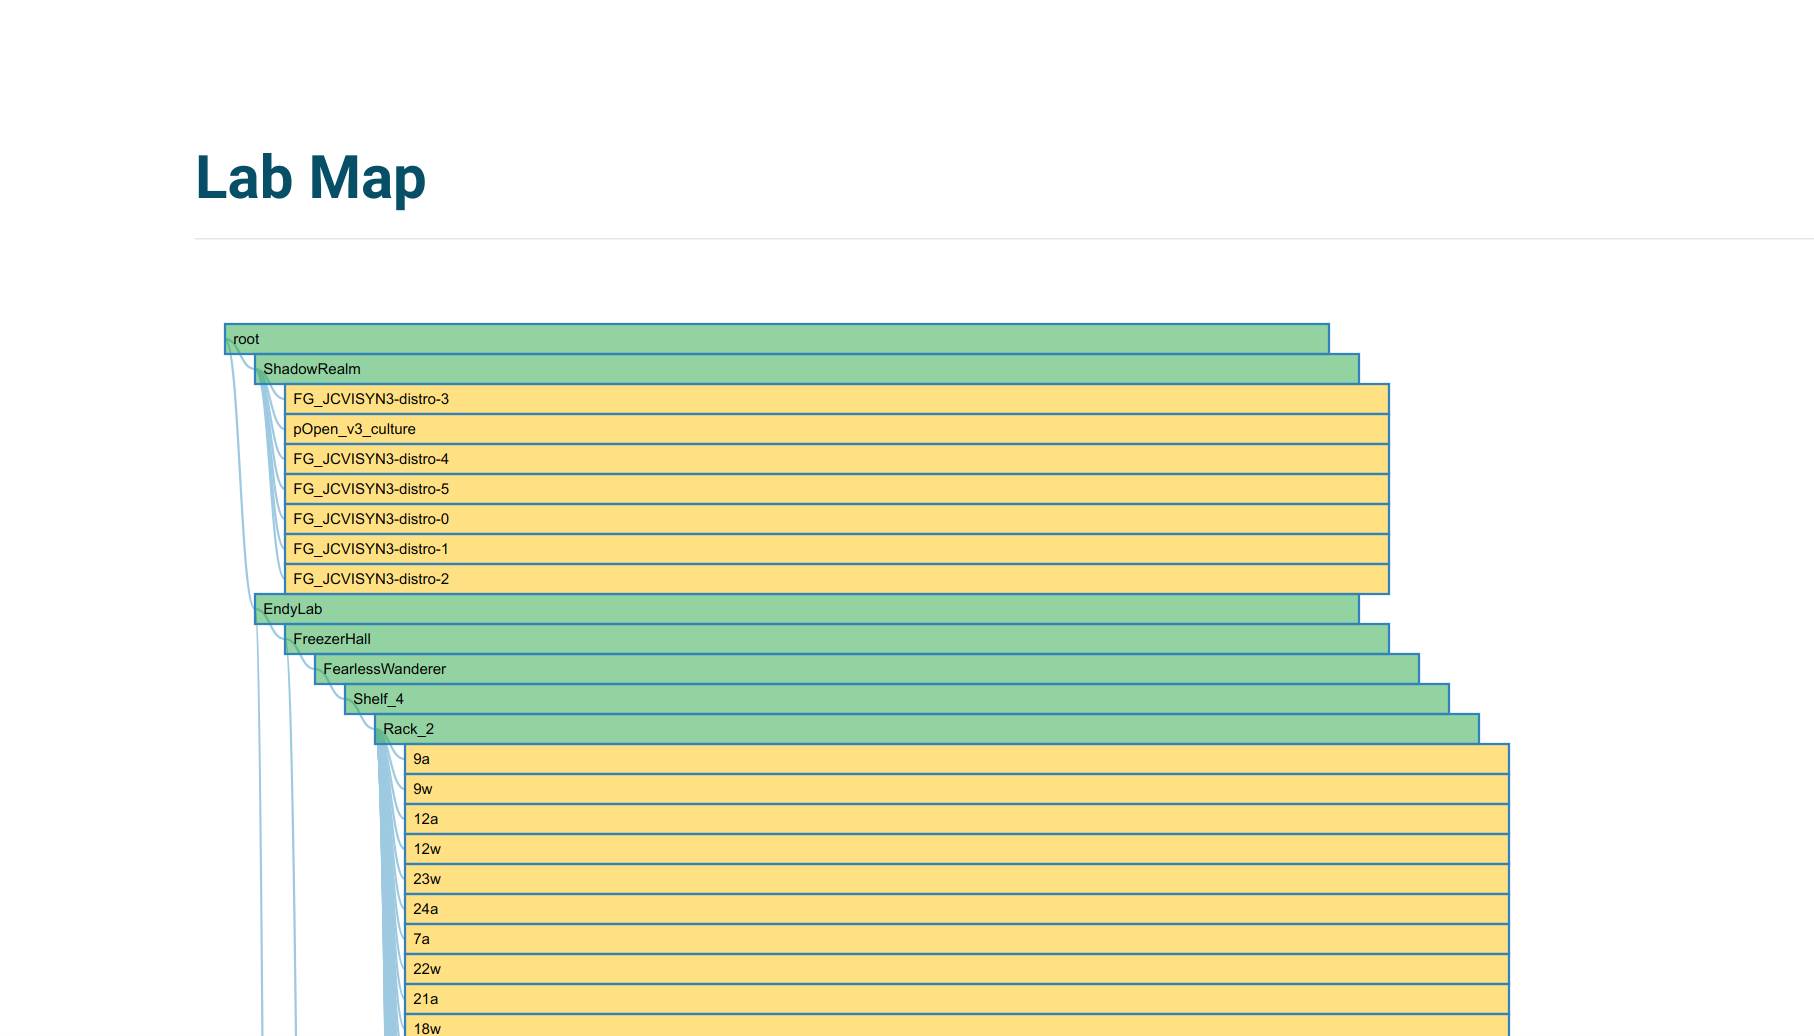
Any of the plates or containers can be clicked to go to their specific view. If you are browsing a container, you can also quickly see it’s immediate children:
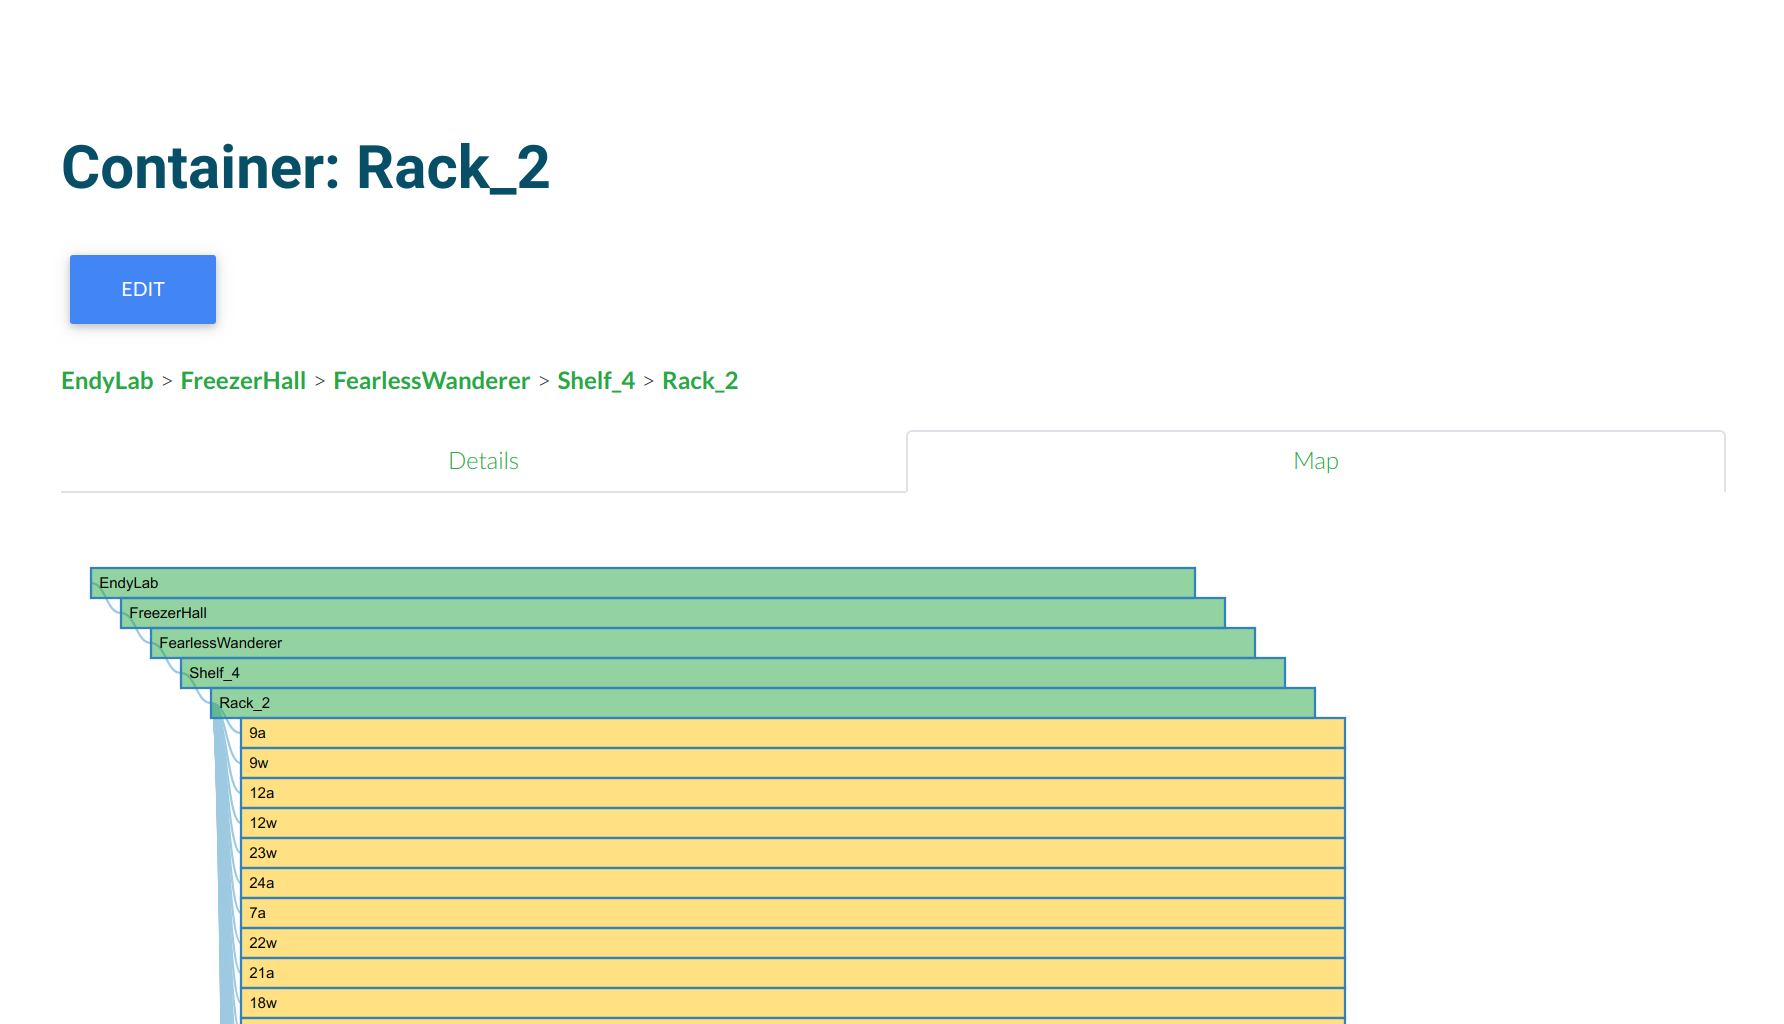
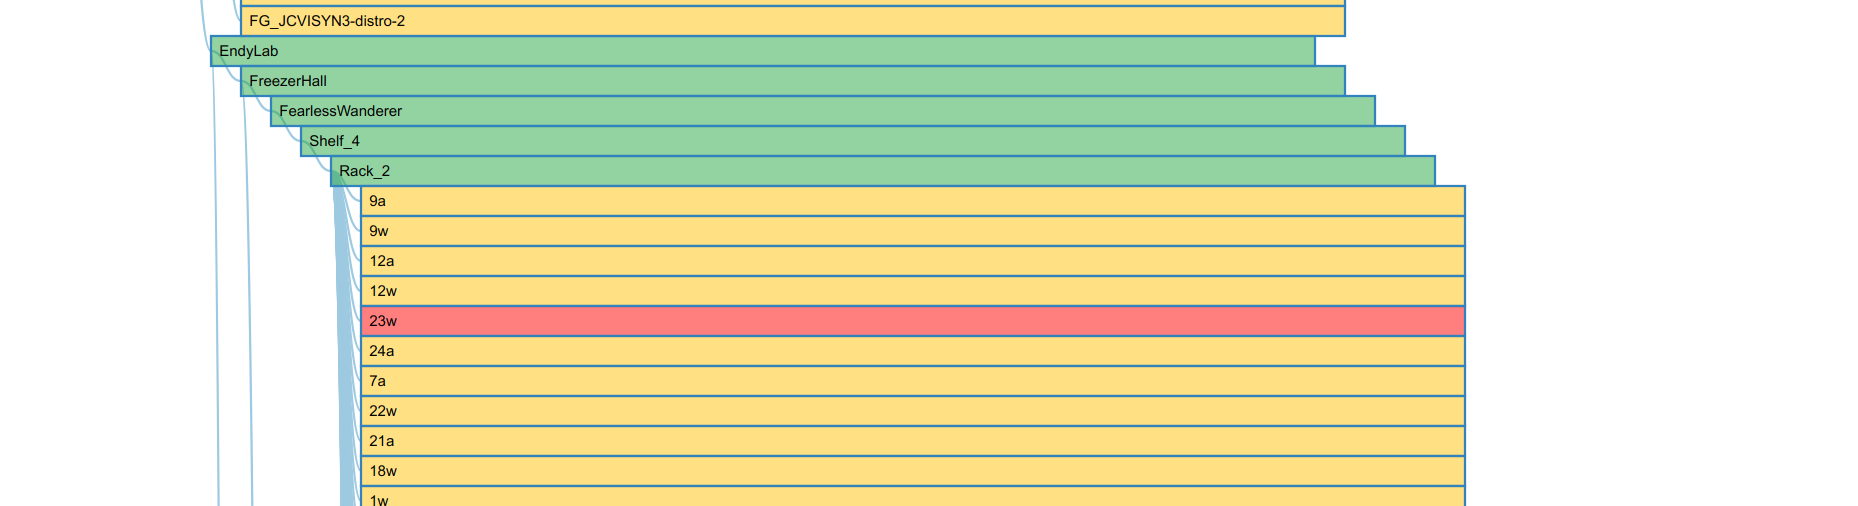
The breadcrumb at the top shows the direct address of the container, and the map tab shows the nested plates within. If you are browsing a plate and want to quickly find a location, if you want more detail than the breadcrumb you can click on “Locate” in the interface:
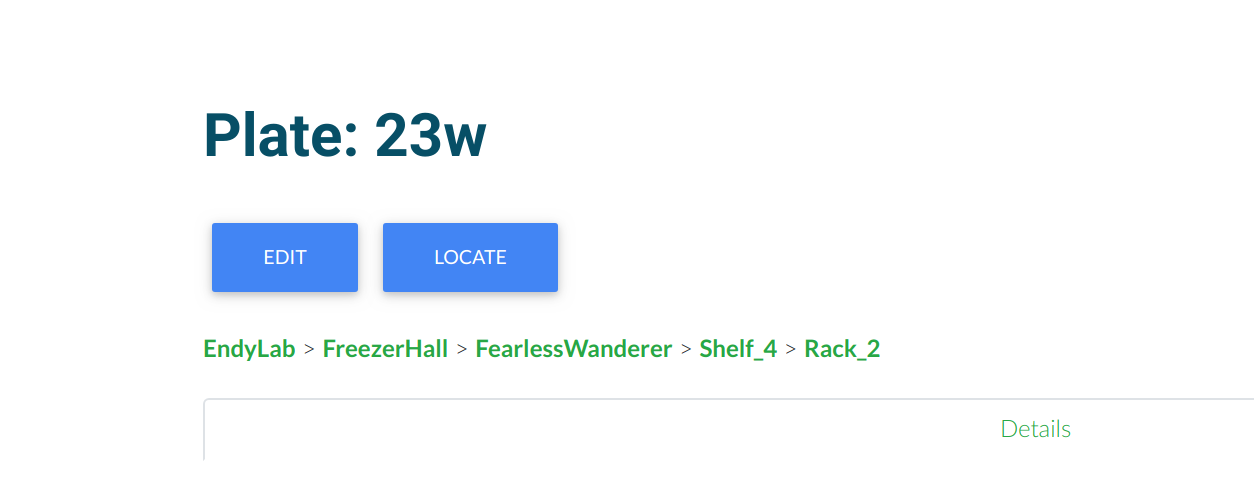
And it will take you to the Lab map, with the selected plate highlighted in red.
Orders Map
When you are logged in as a superuser or staff, on the main page there is a link above the orders table that says “Map”. Clicking it will show a map of orders. Each circle represents a zip code from which orders were placed, and the size of the circle represents the number of orders placed from that zip code.
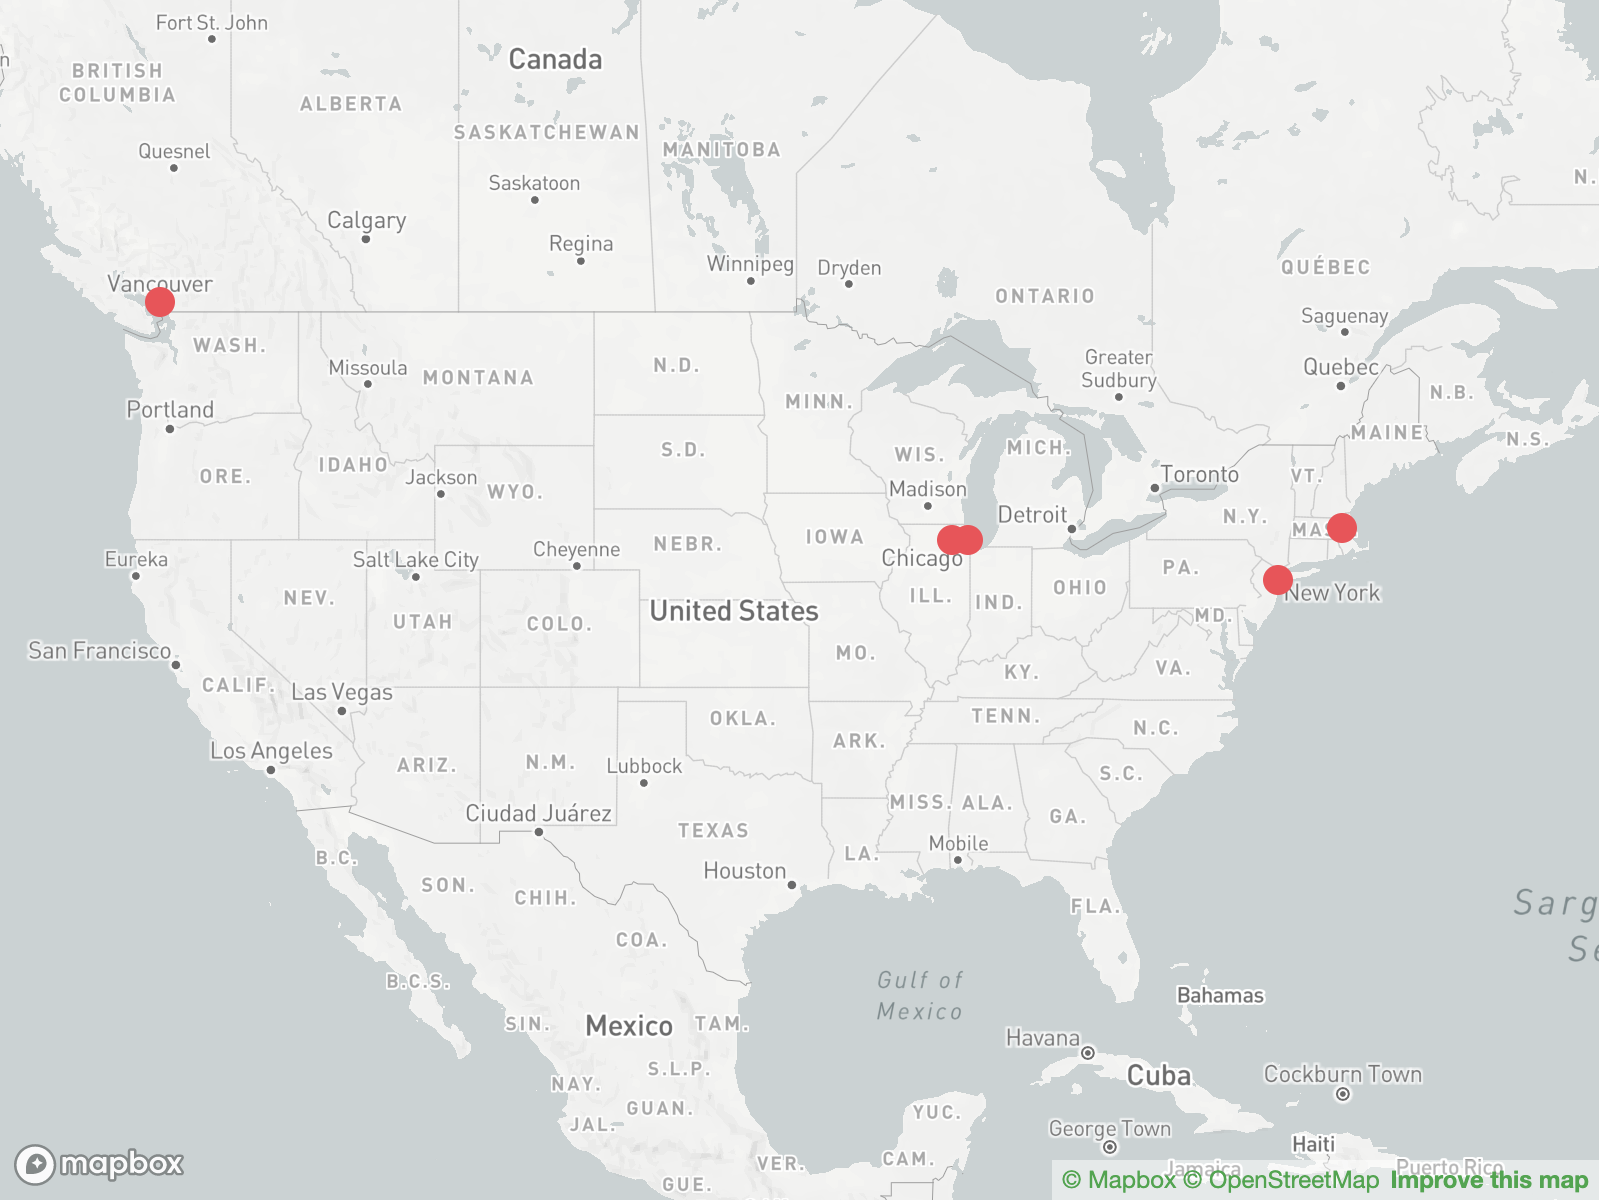
We don’t store anything but the zip codes with counts on the server, and the data is obtained as a nightly task using the Shippo api. Specifically, this means that generate_mapdata.py is run via this cron job that is created on the container build. A Shippo (non testing) API token is required to generate the data, and as you can see from the cron command, the actual command (run in the container) is
$ python manage.py generate_mapdata
with the working directory as /code. If you need to test this script, it’s recommended to get dummy data (or real data from the server) and run manually.
The map is generated using using Mapbox GL JS.
Profile
The user profile is accessible from the top right after the user is logged in:
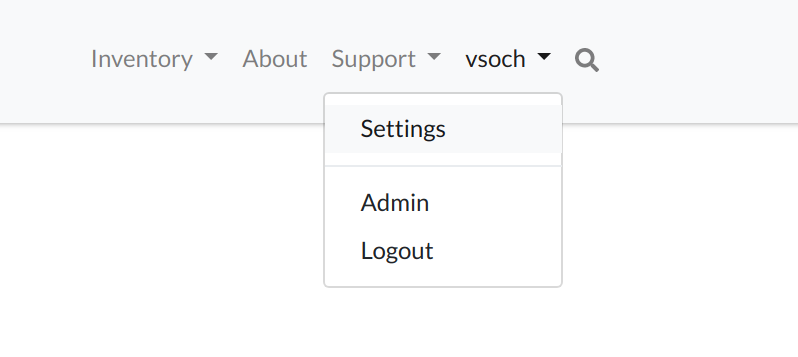
The profile view allows the user to manage the account, including navigation to the admin interface (if allowed), account deletion, and Institution selection. Additionally, the API token is presented:
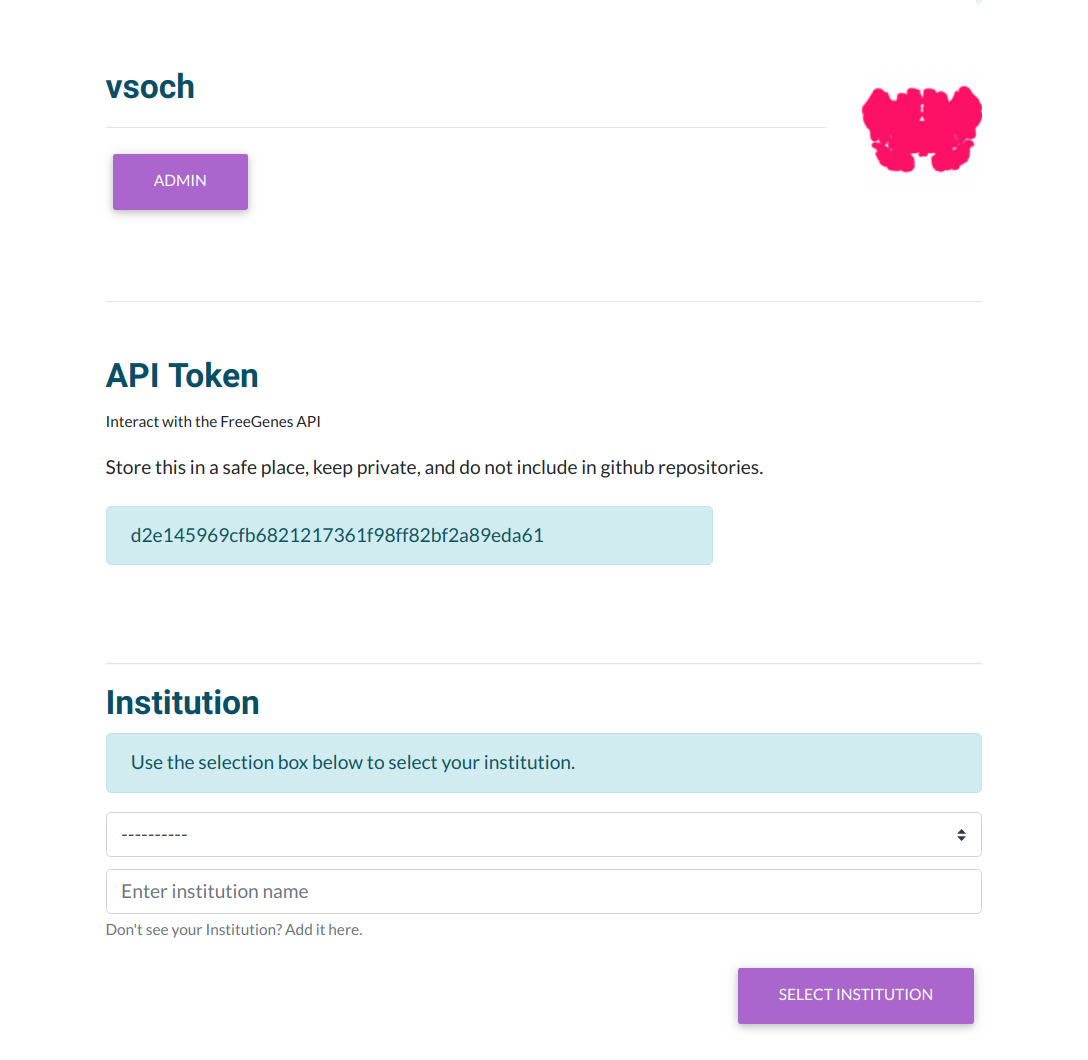
If a user has not selected an institution, he or she is alterted to do so. If the user wants to add a new institution, a box is presented to allow for this.
Feedback
Was this page helpful?
Glad to hear it! Please tell us how we can improve.
Sorry to hear that. Please tell us how we can improve.