1. SLURM Job Manager, smanage
Slurm Manage, for submitting and reporting on job arrays run on slurm
Practices for Reproducible Research
This is a followup to our original posts:
that described how to get access to a jupyter notebook on Sherlock, with or without GPU and tensorflow, with port forwarding!
Today we will extend the example to show how to run jupyter via a Singularity container. We are going to be using a container produced via repo2docker that was pulled to Sherlock from Docker Hub and can be used as a general jupyter base, or in a “read only” mode to see the notebook provided by @vsoch, the author. Why is this cool? It means that you can use the repo2docker tool to create your own custom container notebooks to share with others. Let’s get started!
Today we are going to do the following:
For more background, see the original post.
First, clone the repository, and remember the location. You will generate a parameters flie
params.sh that you can go back to and use again.
git clone https://github.com/vsoch/forward
cd forward
As a reminder from the previous posts, here are the files that we have to work with.
├── end.sh    (-- end a session
├── resume.sh (-- resume a started session
├── sbatches  (-- batch scripts you can run to forward a port to!
  ├── singularity.sbatch
  ...
  ├── jupyter.sbatch
  └── tensorboard.sbatch
├── setup.sh  (-- run once to set up the tool
└── start.sh  (-- how you start a connection
You will need to generate a file of parameters to source before using the tool. Importantly, if you want to use tensorflow with a gpu, you should select the partition to be “gpu” when it asks you.
$ bash setup.sh

Sherlock username > tacocat

Next, pick a port to use.  If someone else is port forwarding using that
port already, this script will not work.  If you pick a random number in the
range 49152-65335, you should be good.

Port to use > 56143

Next, pick the sherlock partition on which you will be running your
notebooks.  If your PI has purchased dedicated hardware on sherlock, you can use
that partition.  Otherwise, leave blank to use the default partition (normal).

Sherlock partition (default: normal) > gpu

Next, pick the path to the browser you wish to use.  Will default to Safari.

Browser to use (default: /Applications/Safari.app/) > /usr/bin/firefox
Notice that I’ve changed the default browser (Safari on a Mac) to firefox on Ubuntu. Also note that I entered “gpu” for my partition. The resulting file is a simple text file:
$ cat params.sh
USERNAME="tacocat"
PORT="56143"
PARTITION="gpu"
BROWSER="/usr/bin/firefox"
MEM="20G"
TIME="8:00:00"
Follow the instructions here to set up your Sherlock credentials. You
can see what you have by looking at your ~/.ssh/config:
cat ~/.ssh/config
Don’t have the file? You can use a helper script in the repository to generate it. There is a helper script for Sherlock:
ls hosts/
  sherlock_ssh.sh
and when you run it, the configuration is printed to the screen:
$ bash hosts/sherlock_ssh.sh

Sherlock username > tacocat
Host sherlock
    User tacocat
    Hostname sh-ln03.stanford.edu
    GSSAPIDelegateCredentials yes
    GSSAPIAuthentication yes
    ControlMaster auto
    ControlPersist yes
    ControlPath ~/.ssh/%l%r@%h:%p
or just do the entire thing programatically:
bash hosts/sherlock_ssh.sh >> ~/.ssh/config
Did you notice we skipped the step to set up jupyter passwords on Sherlock? We don’t need to worry about software dependencies because we are using containers. Thank goodness! This makes the entire workflow less error prone - the dependencies for jupyter are packaged in the container! For the example container I’m showing you, the image is provided on Sherlock
bash start.sh <software> <path>
This notebook will serve a basic container, rooted in your directory of choice!
$ bash start.sh singularity-jupyter /path/to/dir
The default will point to your scratch:
$ bash start.sh singularity-jupyter

# equivalent to
$ bash start.sh singularity-jupyter /scratch/users/<username>
The above command will submit the job, forward the port, and show you the log that has your token password to enter into the url. It’s a token generated on the fly. If it doesn’t, you can find it (or some other bug that was not revealed!) in the error or output files:
SHERLOCK_HOME=/home/users/vsochat
$ ssh sherlock cat ${SHERLOCK_HOME}/forward-util/singularity-jupyter.err
$ ssh sherlock cat ${SHERLOCK_HOME}/forward-util/singularity-jupyter.out
When you are ready to be done, or you’ve left and want to come back later:
# Resume a session
bash resume.sh <name>
bash resume.sh singularity-jupyter

# End a session
bash end.sh <name>
bash end.sh singularity-jupyter
If you want custom software in your container, give repo2docker a try! For this tutorial, we used the continuous builder template to have the image deployed automatically to Docker Hub.
What highly important python modules did I provide for you in this example? Open up a Python 3 new Notebook, and try this out:
from pokemon.skills import get_avatar

avatar = get_avatar('vanessa')
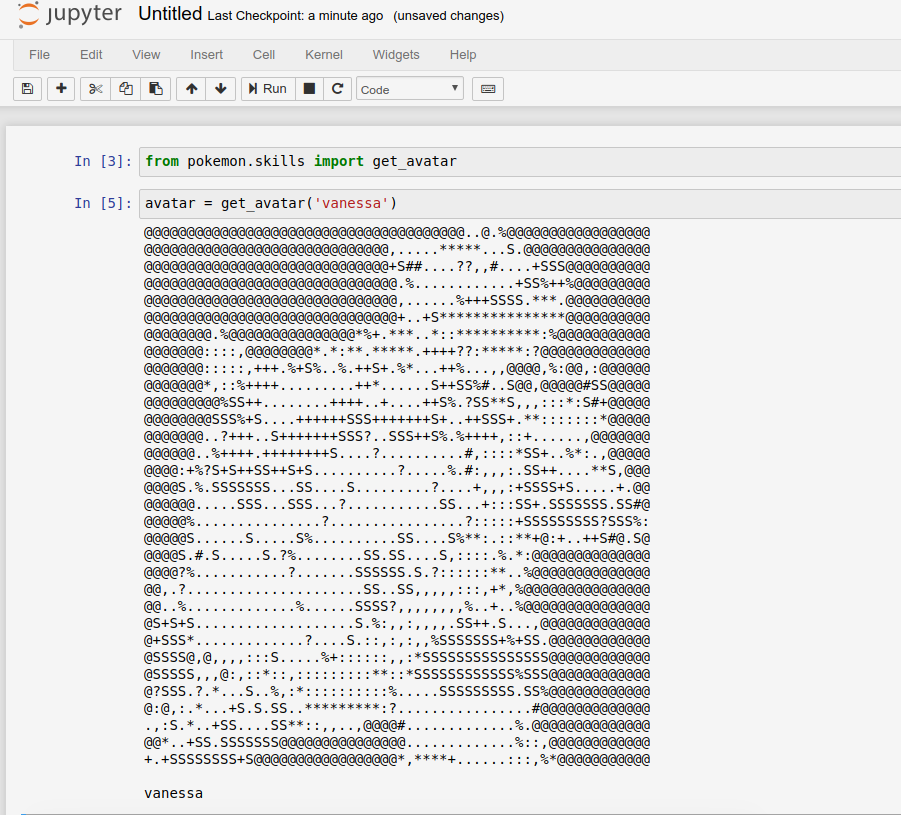
Check out the pokemon module for other fun things you can do :)
This is really easy for you to do! You can use the general Singularity container script,
provided as singularity.sbatch in the forward repository to get started. The basic idea is that you would want to:
requirements.txt file of things to installAnd then either pull it to Sherlock with Singularity, or provide the docker uri to the container (and it will be pulled on the fly). The first is generallly recommended. If you need help, or hey, if you have a request for a container, please reach out to @vsoch. I will be happy to build and provide a container for you from my shared folder!
Here are some common pitfalls that I hit during development. If you still need help, please reach out to our group!
There is a missing module!
This actually happened for me - I got an error message that there wasn’t a module called google protobuf. This is a bug with the installation of tensorflow on sherlock, because it should be loaded if it’s required. No fear! You can fix it yourself, and even from your terminal. First, do this:
import os
os.system("pip install --user <module>")
And then restart the kernal from the interface to have changes take effect (you will get some glorious error messages if you don’t).
The terminal is hanging!
To make this automated, we issue commands from the start.sh script to capture output
from sherlock, using ssh sherlock to send the command. If it’s the case that your login
session has expired (or you got the wrong password), then you might have a password
prompt (that you can’t see) that looks like the terminal is hanging. If this seems to be
the case, try opening a new terminal window, and authenticating with sherlock again (ssh sherlock pwd should trigger the login authentication flow.)
The job is never allocated
This usually means there is an error on job submission, and you can look at the error
and output files to see them. For example, let’s say that I want to do this for this run:
ssh sherlock cat /home/users/vsochat/forward-util/singularity-jupyter.err
ssh sherlock cat /home/users/vsochat/forward-util/singularity-jupyter.out
Failed to setup local forwarding
If you have a hanging process (if you killed a session and now can’t recreate it) you might get an error message about not being able to set up the port forwarding! The easiest thing to do here is to use end.sh and start.sh again.
bash end.sh singularity-jupyter
There is some other problem, arggg!
Well what are you waiting for? Ask for help by opening an issue! or submitting a pull request.
Do you have questions or want to see another tutorial? Please reach out!
This series guides you through getting started with HPC cluster computing.
Slurm Manage, for submitting and reporting on job arrays run on slurm
A Quick Start to using Singularity on the Sherlock Cluster
Use the Containershare templates and containers on the Stanford Clusters
A custom built pytorch and Singularity image on the Sherlock cluster
Use Jupyter Notebooks via Singularity Containers on Sherlock with Port Forwarding
Use R via a Jupyter Notebook on Sherlock
Use Jupyter Notebooks (optionally with GPU) on Sherlock with Port Forwarding
Use Jupyter Notebooks on Sherlock with Port Forwarding
A native and container-based approach to using Keras for Machine learning with R
How to create and extract rar archives with Python and containers
Getting started with SLURM
Getting started with the Sherlock Cluster at Stanford University
Getting started with the Sherlock Cluster at Stanford University
Using Kerberos to authenticate to a set of resources